• Skip to main content
  • Skip to primary sidebar

Camp.Grill.Eat. logo

menu icon
go to homepage
  • Recipes
  • About
  • Subscribe
  • Contact
    • Facebook
    • Pinterest
    • YouTube
  • search icon
    Homepage link
    • Recipes
    • About
    • Subscribe
    • Contact
    • Facebook
    • Pinterest
    • YouTube
  • ×
    Home » Recipes

    Recipe Index

    August 20, 2023 Camping

    Homemade Nut-Free Trail Mix

    This quick and easy nut-free trail mix recipe is ready in just 5 minutes and is perfect for hiking, camping, afternoon snacks, or school lunch kits. Made with crispy rice Chex cereal, dried cranberries, spiced pumpkin seeds, and chocolate chips, it's the perfect blend of sweet, spicy, and salty.

    A bowl of nut free trail mix.
    [feast_advanced_jump_to]

    We all know that trail mix is a great snack for all kinds of outdoor adventures, particularly one that delivers some protein and healthy fats. But if you deal with allergies on a daily basis, you also know that finding a nut-free option isn't easy. Enter this easy allergy-friendly trail mix that can keep you fueled between meals.

    Whether you need a nut-free snack for your group hike, something to tuck into your kids lunchbox, or a quick afternoon on-the-go snack, you'll love this customizable trail mix recipe that is made with pantry staples and is safe for almost everyone.

    Why This Recipe is Great for Camping

    • You can make this camping trail mix ahead of time so you've got a quick and easy hiking snack that's ready for all your outdoor adventures.
    • This can be stored at room temperature, so it doesn't take up precious cooler space.
    • It can be customized to suit your tastes.

    Ingredients and Substitutions

    Ingredients for trail mix on a baking sheet -- dried cranberries, spiced pepitas, chocolate chips, and Chex.
    • Rice Chex--The cereal adds bulk and crunch to the trail mix.
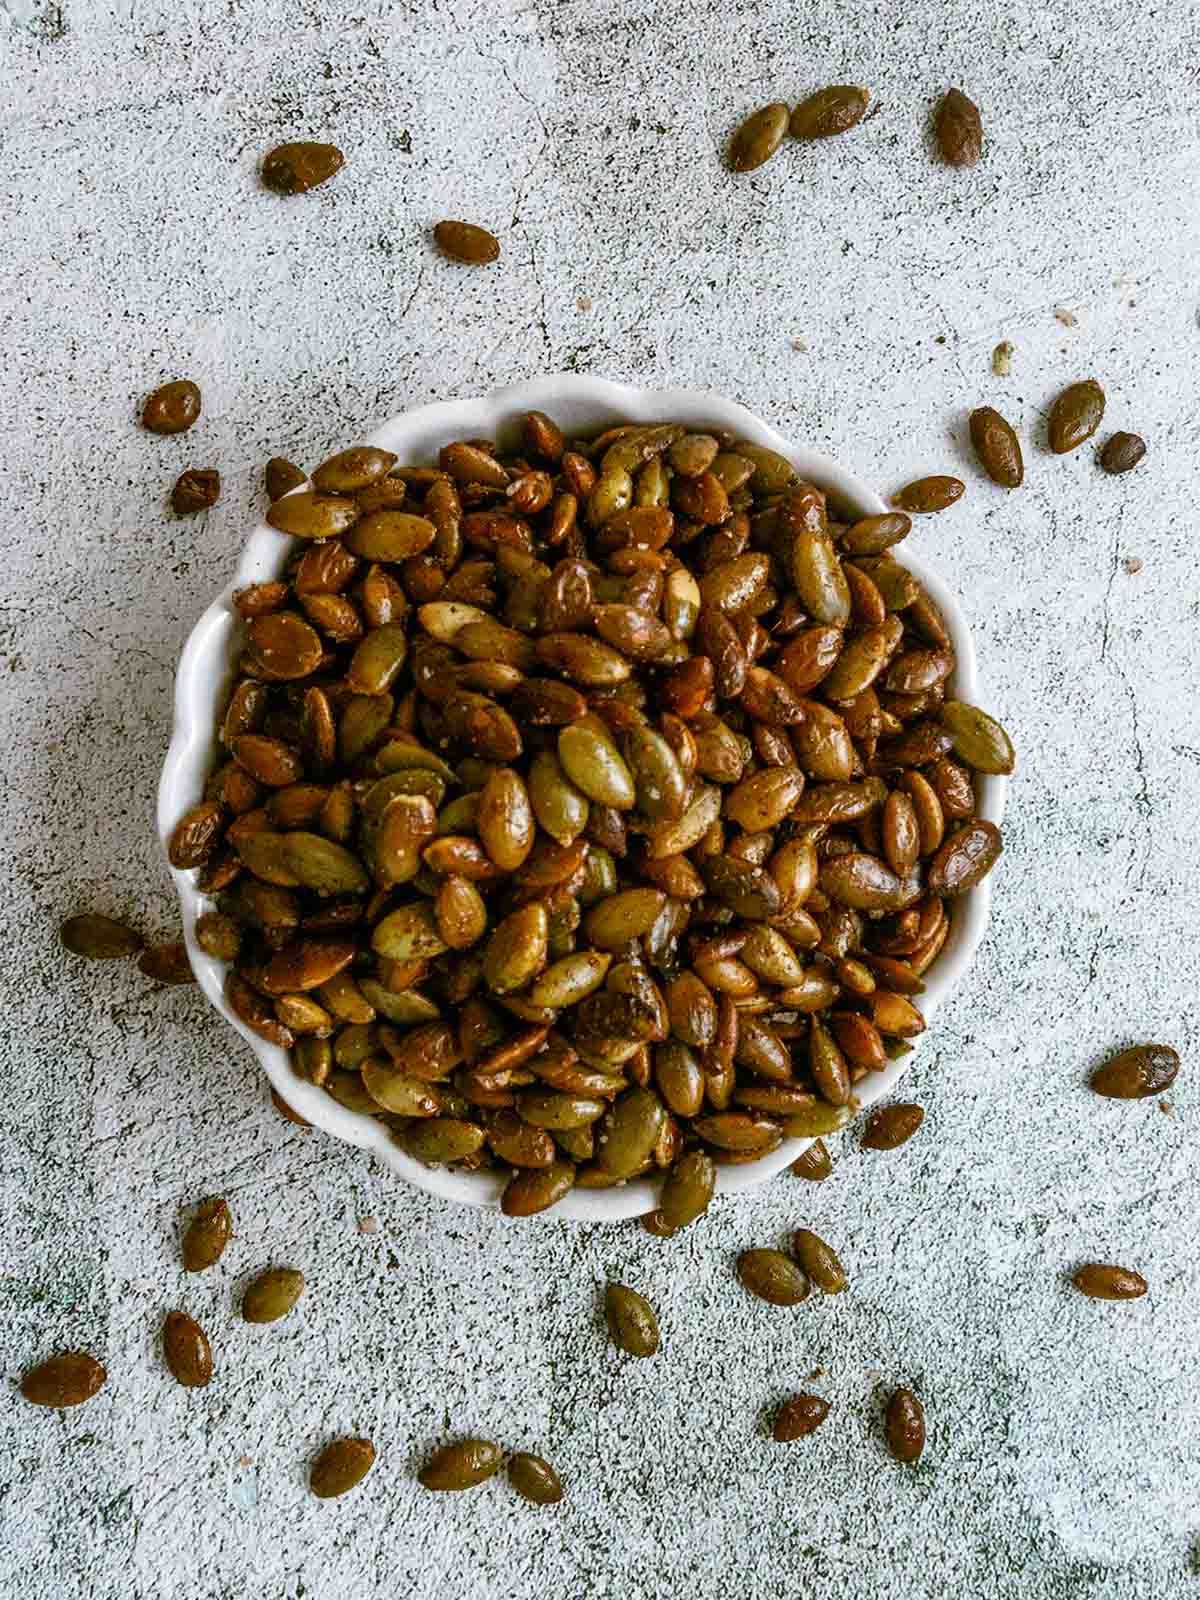
    • Spiced pepitas--This adds a dose of healthy fats and a little bit of heat to the mix, but if you don't enjoy spicy foods, you can substitute plain roasted pepitas (pumpkin seeds) or sunflower seeds. Got extra pepitas? Try one of these amazing ways to use pumpkin seeds.
    • Dried cranberries--Feel free to swap in raisins, or dried blueberries, or a combination.
    • Chocolate chips--I use dark chocolate chips here, but you can use semi-sweet, if you prefer. If allergens are a concern, use Enjoy Life chocolate chips, which are free of most allergens.

    How to Make Trail Mix without Nuts

    Three glass bowls, one filled with Chex and pepitas, and the other two with dried cranberries and chocolate chips.

    1. Mix the Chex and pepitas together in a large bowl.

    A person stirring a bowl of trail mix with Chex, dried cranberries, pepitas, and chocolate chips.

    2. Add the dried cranberries and chocolate and stir well to combine.

    FAQs

    Is this trail mix allergen-free?

    The trail mix recipe is nut-free and gluten-free. If you want to avoid dairy and soy, be sure to select chocolate chips that are allergen-free, such as Enjoy Life brand.

    What's the best way to store trail mix?

    Since moisture and humidity will negatively affect your mixture, keep it in an airtight container at room temperature or in the fridge.

    Can I use different ingredients?

    Sure. Feel free to play around with different types of crispy cereal, chocolate, candies, seeds, and dried fruits. For best results use a variety of ingredients that are sweet, salty, spicy, and crispy.

    Tips and Troubleshooting

    • Store your trail mix in an airtight container in a cool, dark place.
    • This nut-free trail mix recipe is suitable for gluten-free, dairy-free, and vegan diets, but make sure that the chocolate chips you are using are dairy-free and vegan if necessary. I recommend Enjoy Life brand if this is a concern for you.
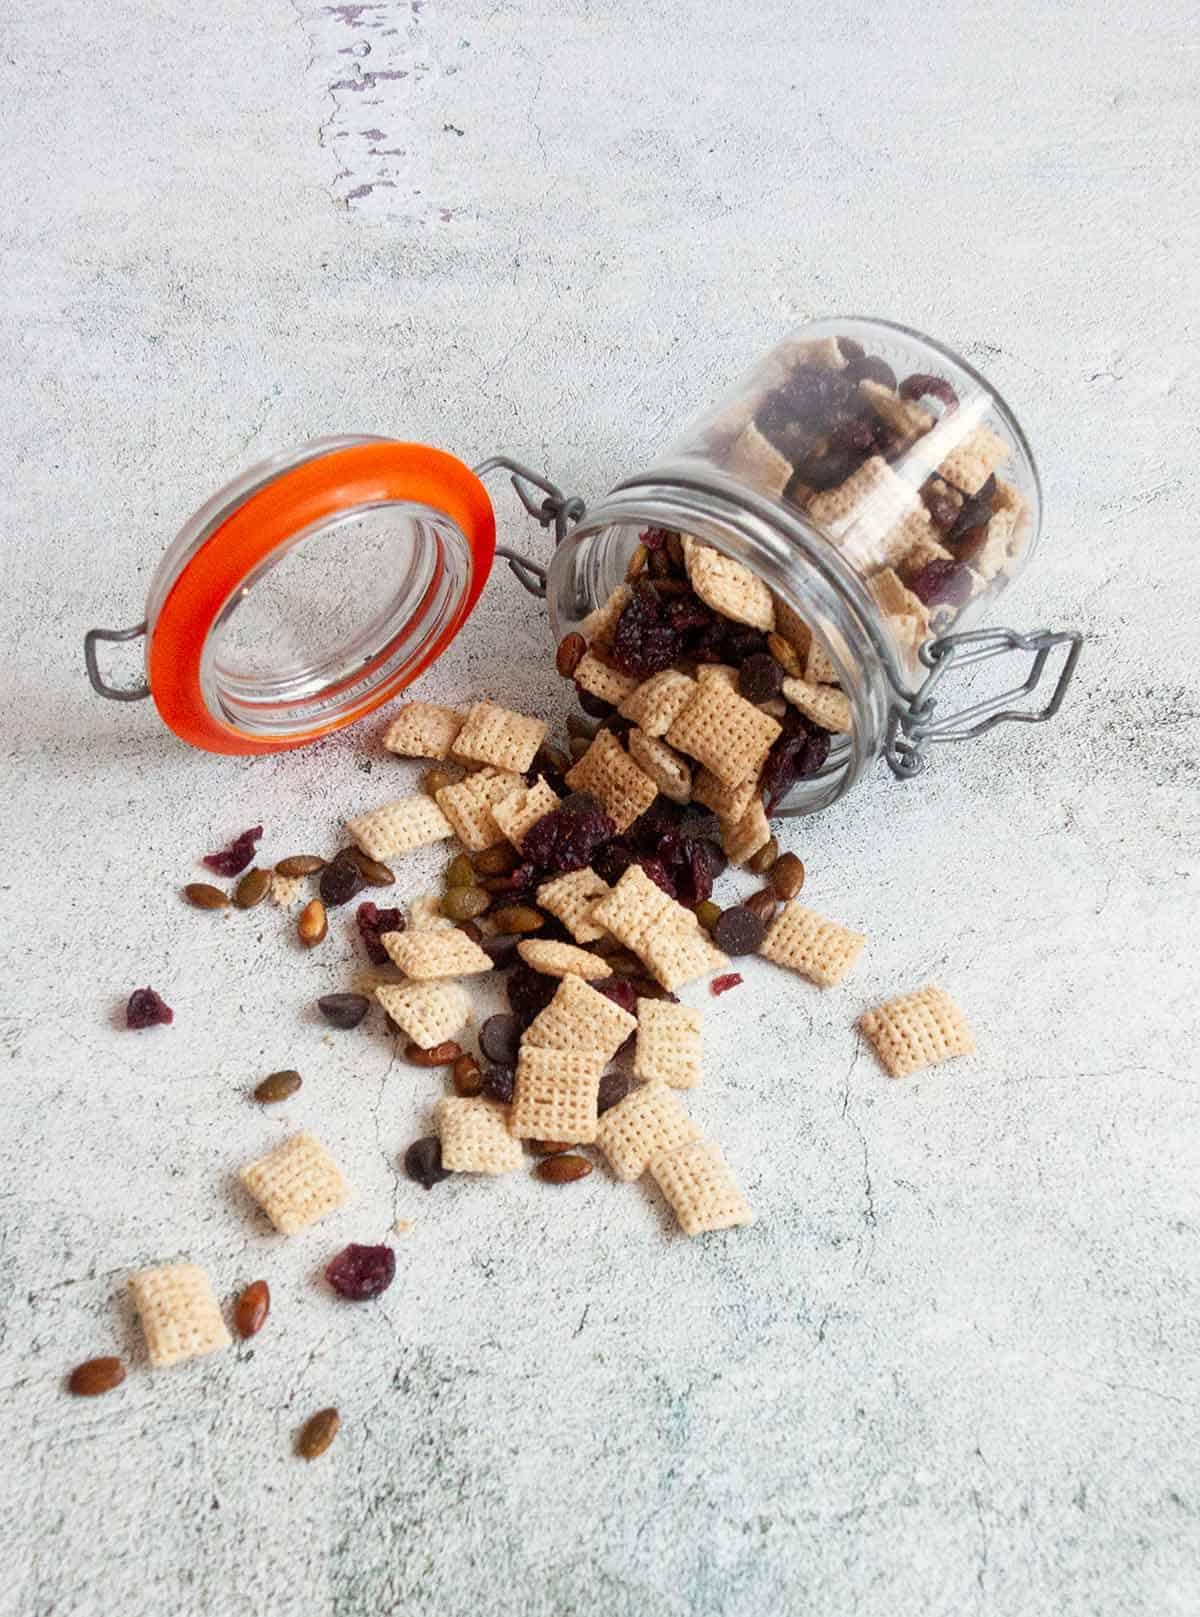
    A jar of trail mix tipped on its side with some spilling out.

    More Trail Mix Recipes You'll Love

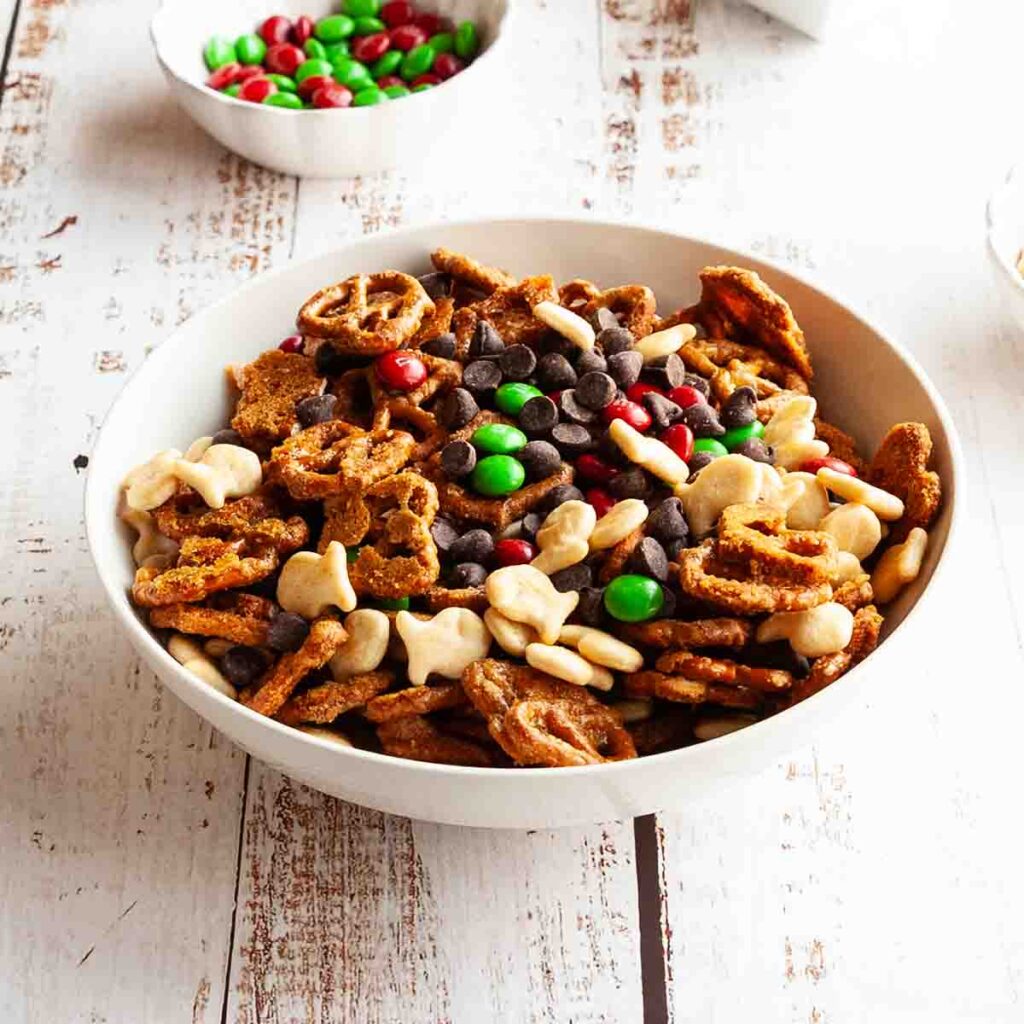
    A bowl of pretzel rail mix with small bowls of M&Ms and fish crackers nearby.
    Butter Toffee Pretzel Trail Mix
    Two jars filled with Golden Grahams, chocolate cookies, mini marshmallows, and chocolate chips.
    S'mores Trail Mix

    Tried This Recipe?

    If you've tried this recipe, please leave a comment below. Follow me on Instagram, Facebook, or Pinterest for more great camping and grilling recipes.

    Recipe

    A bowl of nut free grail mix.

    Homemade Nut-Free Trail Mix

    A woman's face.Angie Zoobkoff
    This trail mix without nuts is easy to make in just 5 minutes with only a handful of everyday ingredients. It's perfect for camping, hiking, snacking, or kids lunch boxes.
    5 from 1 vote
    Print Recipe Pin Recipe
    Prep Time 5 minutes mins
    Total Time 5 minutes mins
    Course Snack
    Cuisine American
    Servings 10 servings (⅓ cup)
    Calories 100 kcal

    Ingredients
      

    • 2 cups Rice Chex cereal
    • ½ cup spiced pepitas
    • ½ cup dried cranberries
    • ⅓ cup dark chocolate chips

    Instructions
     

    • Combine all of the ingredients in a large bowl.
    • Stir gently to thoroughly combine the trail mix.

    Notes

    • Storage--Store your trail mix in an airtight container in a cool, dark place.
    • Dietary--This healthy nut-free trail mix recipe is suitable for gluten-free, dairy-free, and vegan diets, but make sure that the chocolate chips you are using are dairy-free and vegan if necessary. I recommend Enjoy Life brand if this is a concern for you.

    Nutrition

    Serving: 0.33 cupCalories: 100kcalCarbohydrates: 16gProtein: 2gFat: 4gSodium: 94mgSugar: 6g
    Keyword homemade snacks, nut-free, trail mix
    Tried this recipe?Let us know how it was!

    August 20, 2023 Camping

    Corn and Tomato Gnocchi Foil Packets

    These sweet corn and tomato gnocchi foil packets are the ultimate late-summer camping meal. They're ready in less than 30 minutes, easy to make, inexpensive, and perfect for a simple vegetarian camping meal.

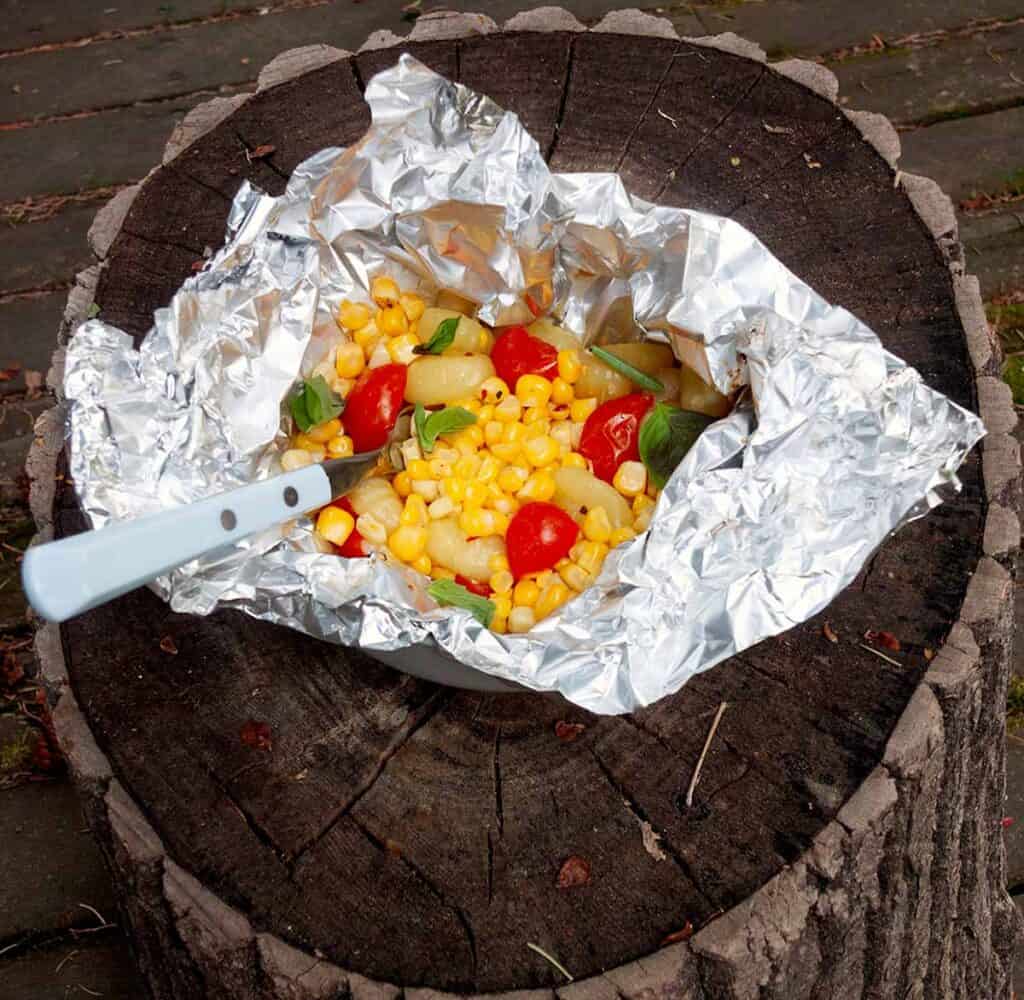
    An open foil packet filled with gnocchi, corn, tomatoes, and basil on a wooden tree stump.
    [feast_advanced_jump_to]

    When it comes to camping meals, I personally think the humble foil packet recipe reigns supreme. There are endless variations, they are easy to make, and there are minimal dishes involved.

    I'm pretty smitten with this vegetarian foil packet recipe for several reasons. First, they're vegetarian. We try to keep our meals meatless at least a few times a week, even when we're camping, but after playing outside all day, you still need a hearty meal, and this definitely ticks that box.

    Also, I've never found a gnocchi recipe that I don't like. Boiled, baked, pan-fried, French onion skillet gnocchi, Caprese gnocchi foil packets, . . . you get the idea. So it was a no-brainer to make those pillowy bites of potato goodness the base of these foil packets.

    Then you add the stellar late-summer combination of sweet cherry tomatoes and corn to the mix and you've got yourself the ultimate summer camping meal.

    Why This Recipe is Great for Camping

    • Most of the ingredients can be stored at room temperature, so they don't take up precious cooler space.
    • These campfire vegetarian foil packets are hearty and satisfying, but also very inexpensive to make.
    • You only need to dirty (and wash) one bowl!

    Ingredients and Substitutions

    Ingredients for corn and tomato gnocchi foil packets--gnocchi, butter, pepper flakes, olive oil, corn, and tomatoes.
    • Gnocchi--I recommend using the shelf-stable gnocchi instead of the refrigerated variety. Then you don't have to pack them in the cooler, and they tend to be less expensive. If you can only get the refrigerated kind, it will still work.
    • Corn--Sweet summer corn adds so much flavor to this meal. I highly recommend getting fresh corn on the cob and slicing it yourself. In a pinch, thawed frozen corn is fine to use.
    • Tomatoes--Cherry tomatoes are perfect since they're so juicy and sweet. If you want to make these with regular tomatoes, choose large juicy ones that will give off a fair amount of liquid as they cook.
    • Oil and butter--I prefer to use both for cooking for the best flavor, but if you're camping and you can only bring one, either will work. Similarly, if you want to make this recipe vegan-friendly, replace the butter with olive oil.

    Important Steps

    A person pouring oil into a bowl of gnocchi.
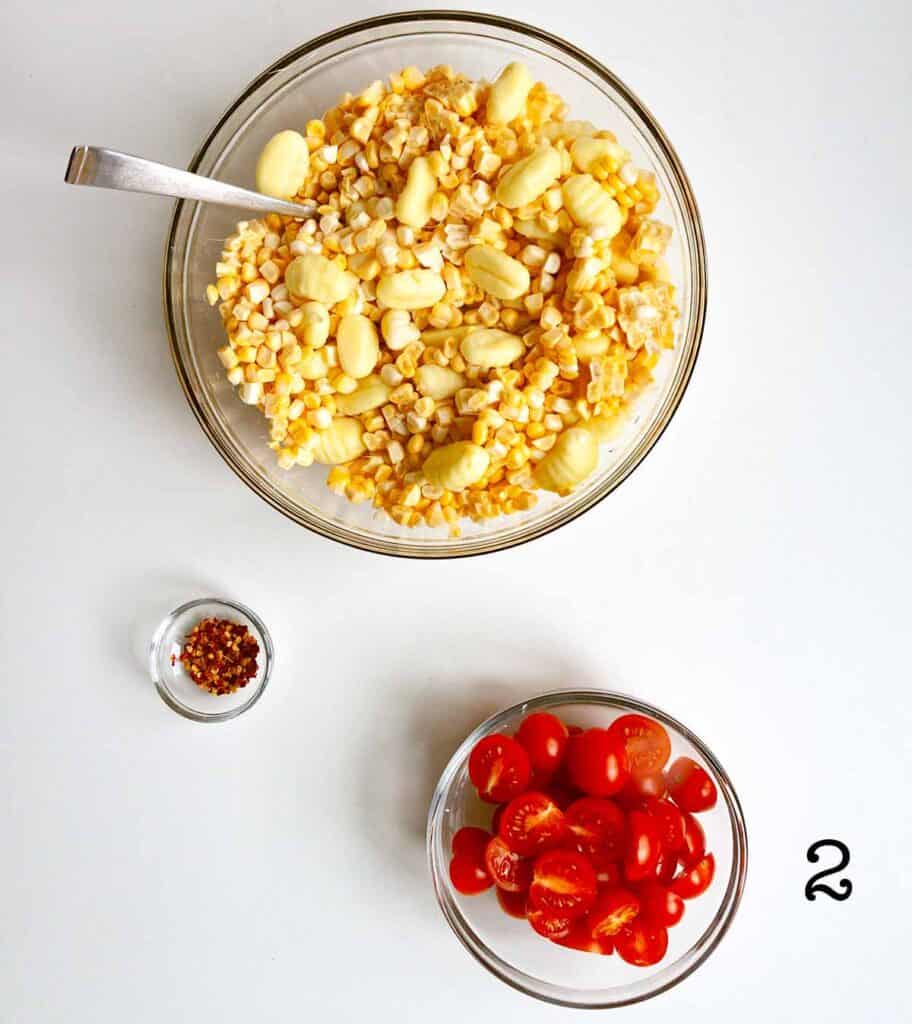
    A bowl of corn and gnocchi, with bowls of tomatoes and pepper flakes nearby.
    1. In a large bowl, toss the gnocchi with the olive oil to coat.
    2. Mix in the corn, then fold in the tomatoes and pepper flakes. Season with salt and pepper.
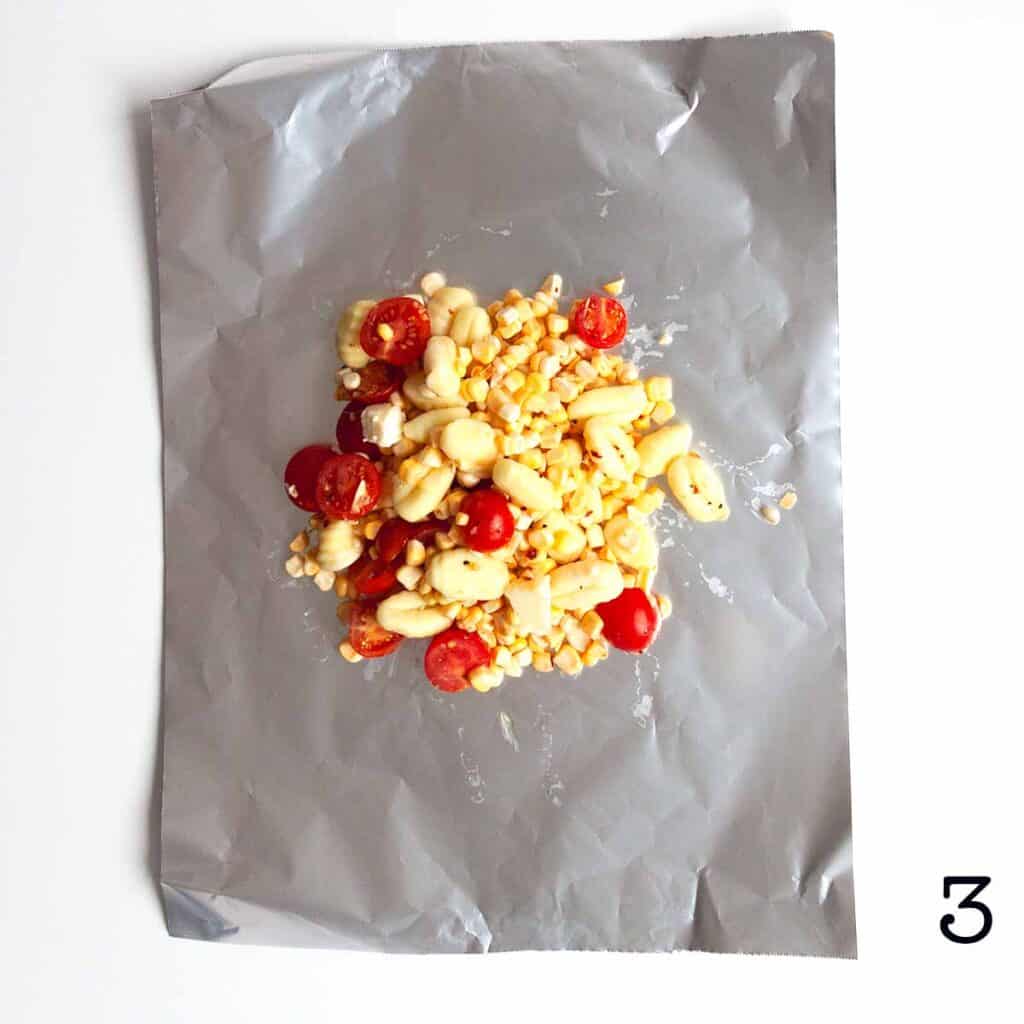
    A mixture of corn, gnocchi, tomatoes, and corn on a sheet of aluminum foil.
    Four foil packets on a grill.
    1. Divide the gnocchi mixture equally among four sheets of aluminum foil. Top each with 1 ½ teaspoons of butter. Fold up each sheet of foil to create a pouch.
    2. Cook the foil packets on a grill or over hot campfire coals until the tomatoes begin to break down and the gnocchi is tender. Garnish with basil, if using.

    FAQs

    What's the best way to fold a foil packet?

    Place your food in the center of the foil. Bring the long edges of the foil up to meet, and then fold them over a couple of times, creating a seam that runs over the top of your food. Then working with one end at a time, fold it over a few times to seal the end.

    I like this method because it's easy to open the seal on top to check them for doneness and then close, if necessary, and it also creates an easy pouch for eating when opened.

    How do I avoid burning my campfire gnocchi foil packets?

    As with most food, steady even heat is key. If you're making them on the grill, let it preheat fully before putting the foil packets on it.

    If you're making them over the campfire, ensure that you have hot coals from an established fire under the grate. Don't put the foil packets over wood that is giving off steady flames as that will deliver uneven heat and may cause them to burn.

    Can I make these in the oven?

    You sure can. Follow the instructions for preparing the packets, then bake in a 400°F (200°C) oven until the gnocchi and corn are tender and the tomatoes are beginning to break down, 12 to 15 minutes.

    Tips and Troubleshooting

    • I don't recommend flipping the foil packets while they are cooking. The steam created in the pouch will ensure that everything ends up perfectly cooked.
    • To make these vegan, replace the butter with olive oil or plant-based butter. Check your gnocchi to make sure it doesn't contain eggs. Most shelf-stable ones do not.
    • Leftovers can be stored in an airtight container in the fridge or your cooler for up to 3 days. Rewarm in a skillet over low heat, or make a new foil pouch and rewarm it gently.
    Corn, tomatoes, gnocchi and basil in a foil pouch.

    More Camping Recipes You'll Love

    A white bowl filled with pasta salad.
    Camping Pasta Salad
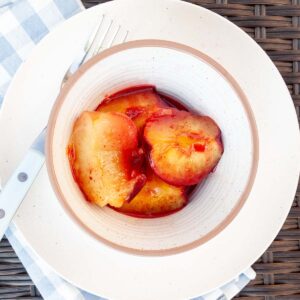
    Quartered grilled plums in a foil packet in a red syrup.
    Spiced Plums

    Tried This Recipe?

    If you've tried this recipe, please leave a comment below. Follow me on Instagram, Facebook, or Pinterest for more great camping and grilling recipes.

    Recipe

    An open foil packet filled with gnocchi, corn, tomatoes, and basil on a wooden tree stump.

    Corn and Tomato Gnocchi Foil Packets

    These vegetarian campfire foil packets are made with tender gnocchi, sweet summer tomatoes and corn, all bathed in a buttery sauce. It's fun, easy camping food that requires minimal cooler space and uses only one bowl.
    5 from 2 votes
    Print Recipe Pin Recipe
    Prep Time 10 minutes mins
    Cook Time 15 minutes mins
    Total Time 25 minutes mins
    Course Main Course
    Cuisine American
    Servings 4 servings
    Calories 289 kcal

    Ingredients
      

    • 18 ounces gnocchi
    • 2 tablespoons olive oil
    • 3 ears fresh corn shucked, and kernels cut from the cobs
    • 2 cups halved cherry tomatoes
    • ½ teaspoon red pepper flakes
    • Salt and pepper
    • 2 tablespoons butter cut into small pieces
    • Fresh basil leaves for serving (optional)

    Instructions
     

    • Prepare a grill for medium heat (400°F/200°C) or a bed of hot campfire coals.
    • In a large bowl, toss the gnocchi with the oil to coat. It's ok if it still appears dry.
    • Add the corn kernels, cherry tomatoes, and pepper flakes and mix well. Season with salt and pepper.
    • Divide the gnocchi mixture evenly among four sheets of aluminum foil. Scatter the butter over the top.
    • Fold up each foil packet to fully enclose the contents.
    • Place the foil packets on the grill or campfire grate and cook until the gnocchi are tender and the tomatoes begin to break down, 12 to 15 minutes.
    • Use a bbq glove or oven mitt to carefully remove the foil packets from the heat before opening. Top with basil, if using.

    Notes

    • Don't flip--I don't recommend flipping the foil packets while they are cooking. The steam created in the pouch will ensure that everything ends up perfectly cooked.
    • Dietary--To make these vegan, replace the butter with olive oil or plant-based butter. Check your gnocchi to make sure it doesn't contain eggs. Most shelf-stable ones do not.
    • Storage and reheating--Leftovers can be stored in an airtight container in the fridge or your cooler for up to 3 days. Rewarm in a skillet over low heat, or make a new foil pouch and rewarm it gently.

    Nutrition

    Serving: 1packetCalories: 289kcalCarbohydrates: 60.1gProtein: 8.6gFat: 14gCholesterol: 15mgSodium: 430mgFiber: 3.7gSugar: 5.3g
    Keyword corn and tomato, foil packets, gnocchi foil packets, vegetarian foil packets
    Tried this recipe?Let us know how it was!

    August 20, 2023 Blackstone Griddle Recipes

    Camping Pancakes

    These buttermilk camping pancakes are easy to make while camping or at home, whether on your griddle, in a skillet over your campfire, or on your stovetop. Top them with maple syrup or huckleberry sauce for the ultimate breakfast treat.

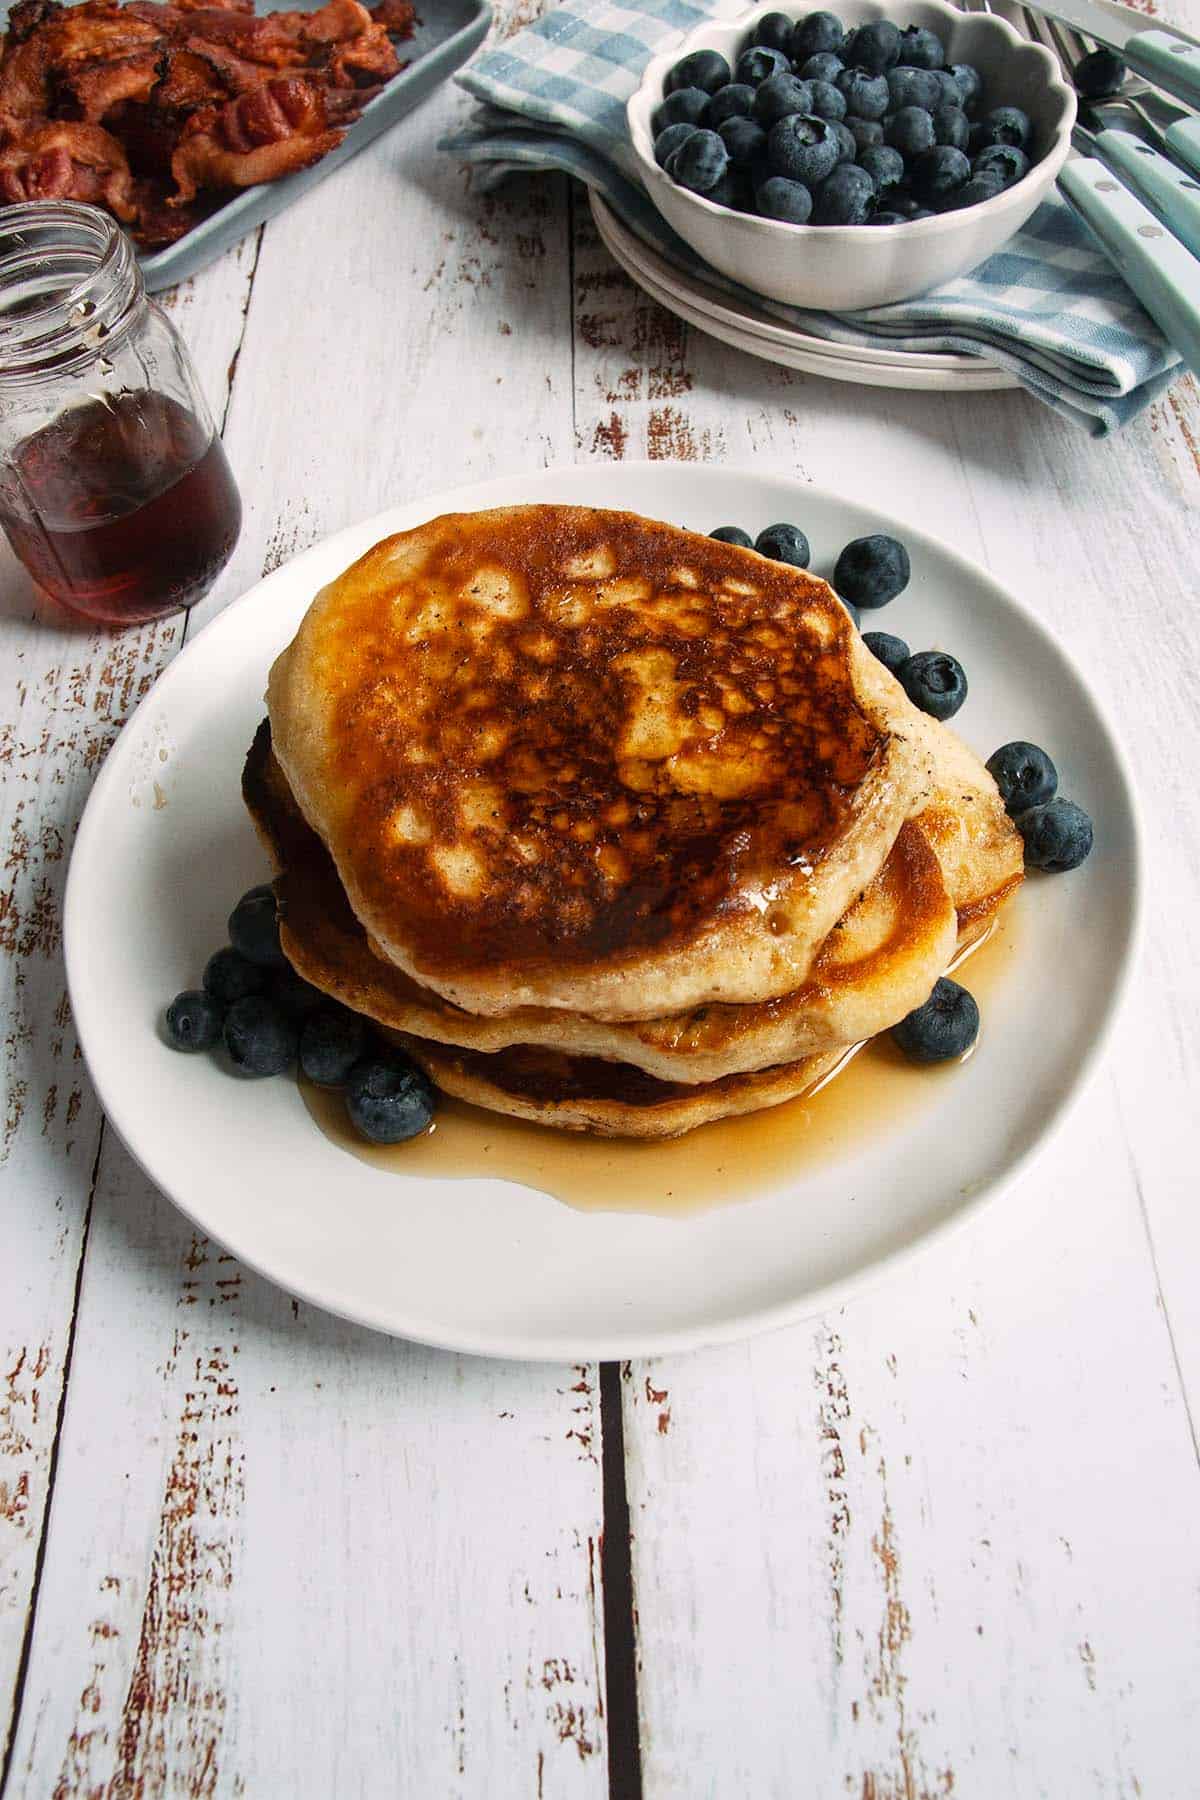
    A stack of pancakes, maple syrup, and blueberries on a plate with blueberries and bacon in the background.

    Recipe at a Glance: Camping Pancakes

    • DETAILS
      • Total Time: 20 minutes
      • Preparation method: Cast iron skillet on camp stove or campfire, or griddle
    • HIGHLIGHTS
      • Enjoy these soft and fluffy buttermilk pancakes on your next camping trip. This easy camping pancakes recipe is a kid-friendly camping breakfast that you can make in your cast iron skillet or griddle on your camp stove or over the campfire.
      • You can prepare and mix your dry ingredients before heading to camp so that this meal comes together quickly and requires minimal storage space.
      • Offer crispy bacon alongside this cast iron skillet breakfast for a classic camping meal.

    Most camping pancake recipes will tell you that you "just need to add water". Technically this is true, but if you want truly amazing pancakes, make a little space in your cooler for a carton of buttermilk. It makes the difference between gloriously fluffy pancakes and a thin (but still tasty) flapjacks. The eggs are pretty important too, but I'm willing to bet you're taking some anyway. I mean, what's a hearty camping breakfast without scrambled eggs?

    [feast_advanced_jump_to]

    Ingredients and Substitutions

    Ingredients for pancakes -- buttermilk, eggs, flour, baking soda, baking powder, and sugar.
    • Buttermilk--The acid in the buttermilk reacts with baking soda to create fluffy pancakes. You can substitute regular milk, but your pancakes will not be as fluffy.
    • Sugar--This adds just a little bit of sweetness.
    • Eggs--The eggs allow the pancakes to hold their shape as they rise, and add fat and richness. You can substitute a flax egg, if necessary.

    How to Make Pancakes for Camping

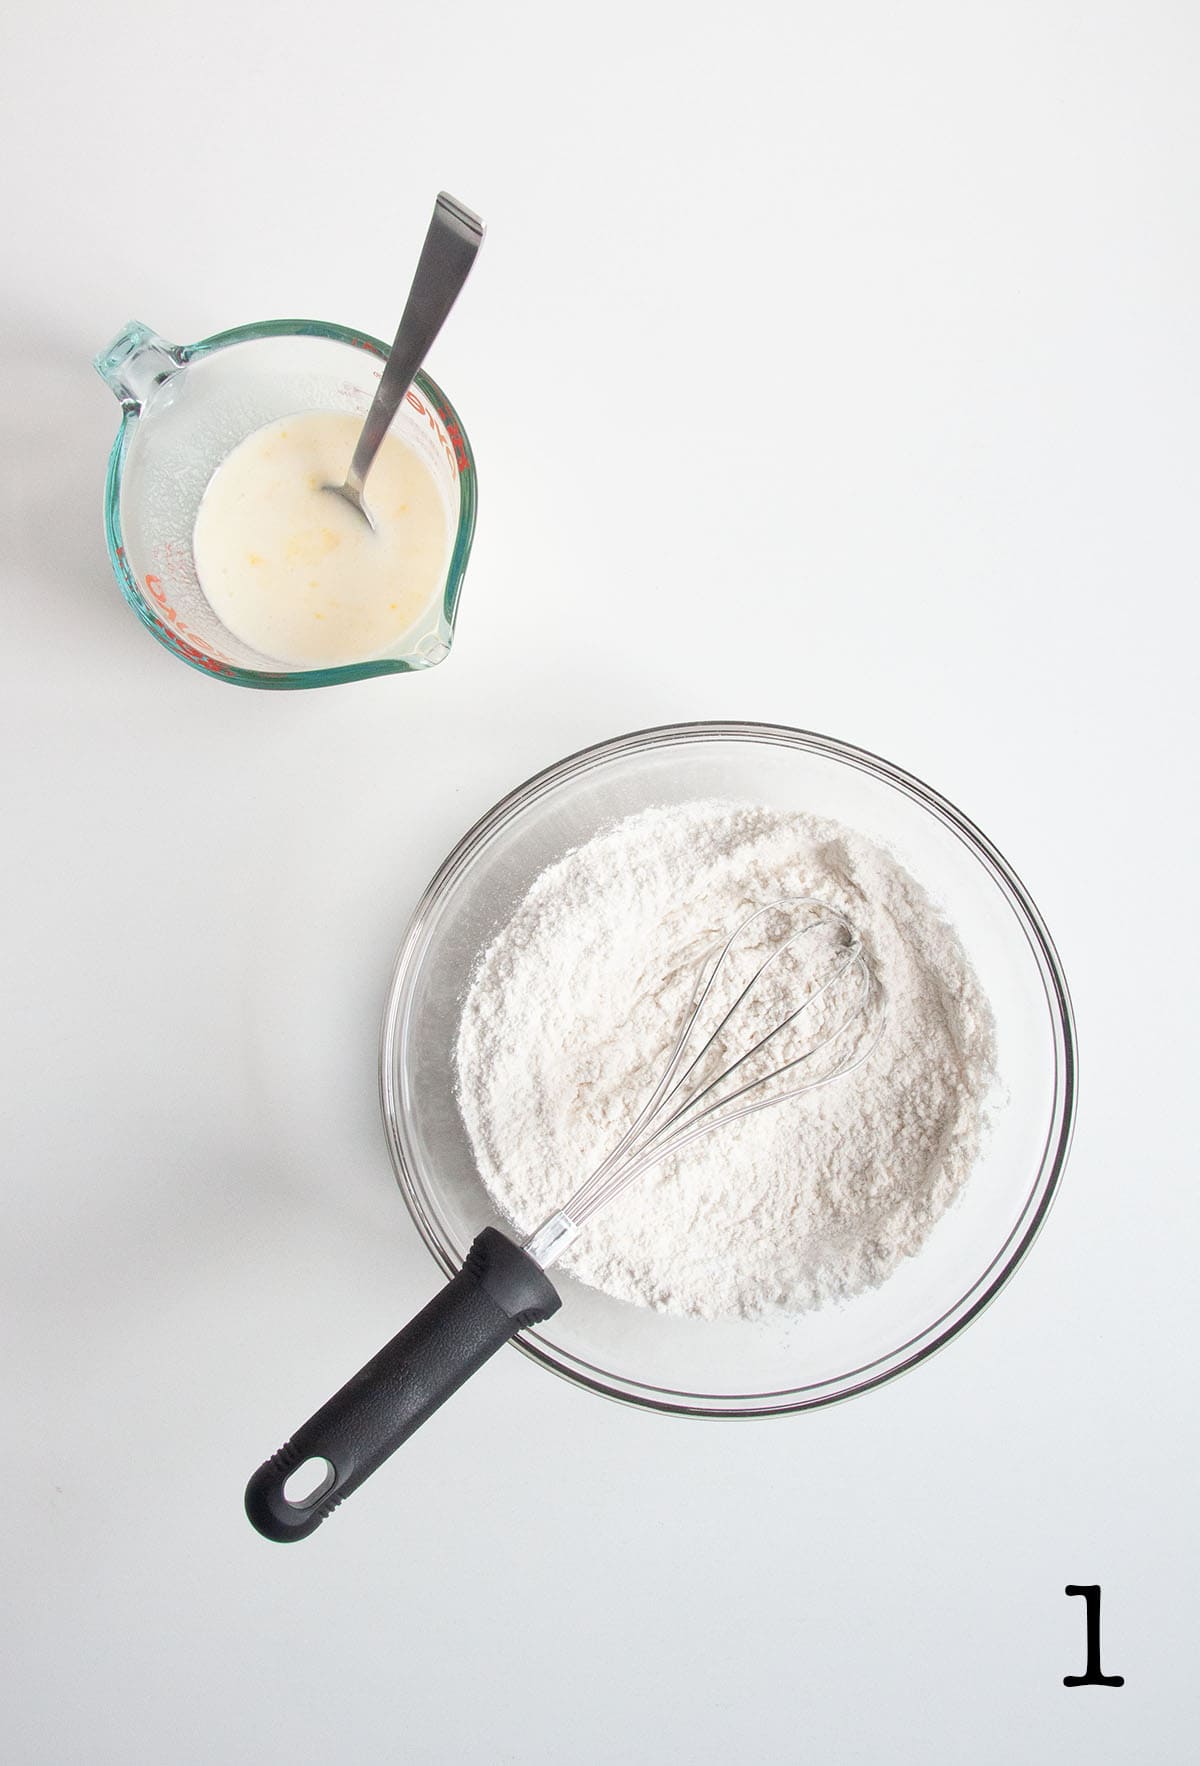
    A bowl of dry pancake mix with a whisk resting inside and a glass beaker with wet ingredients next to it.

    1. Whisk the dry ingredients and wet ingredients in separate bowls.

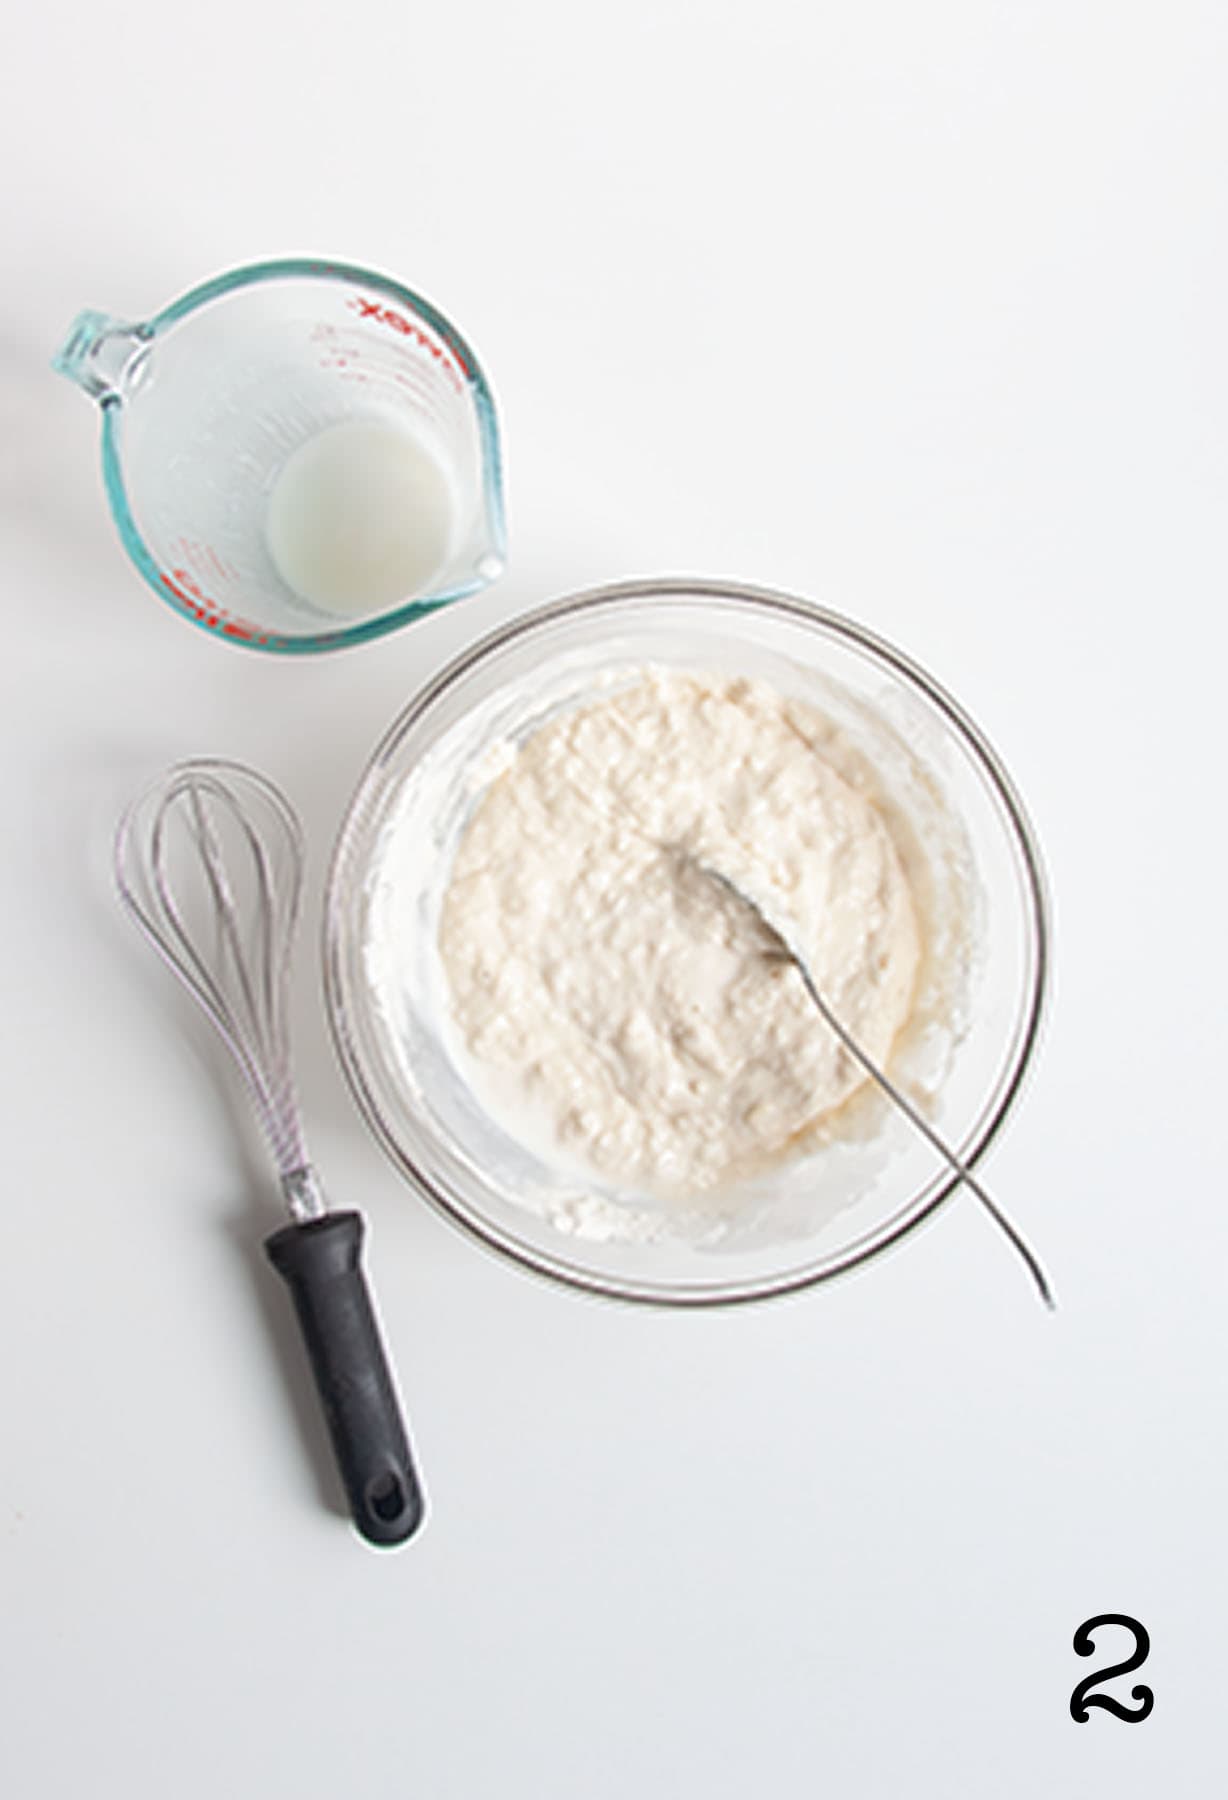
    A glass bowl filled with pancake batter, and a whisk and an empty liquid measuring cup beside it.

    2. Mix the wet ingredients into the dry ingredients and stir gently to combine.

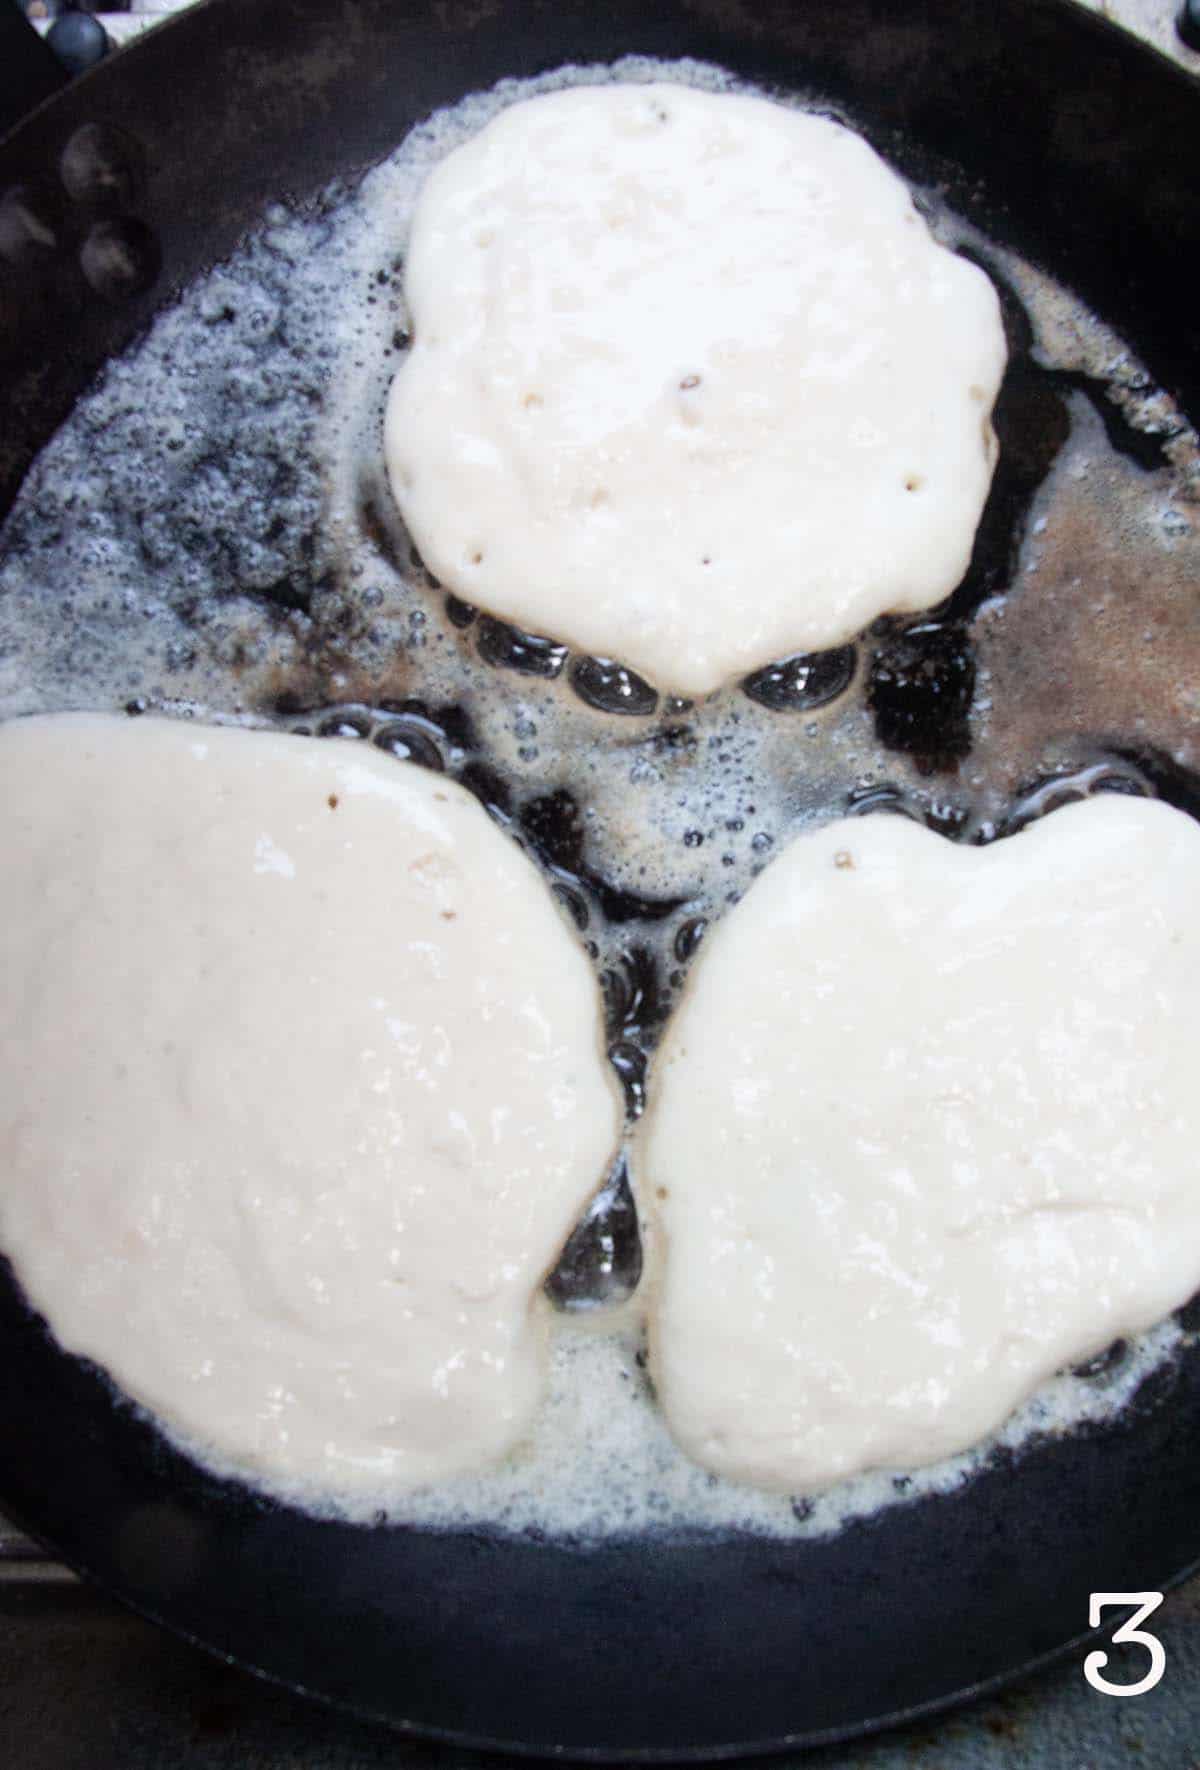
    Three uncooked pancakes in a cast iron skillet.

    3. Heat a cast iron skillet or griddle until warm and melt 1 tablespoon of butter in it. Drop ¼ cup scoops of batter onto the skillet. Cook until bubbles begin to appear on top of the pancakes.

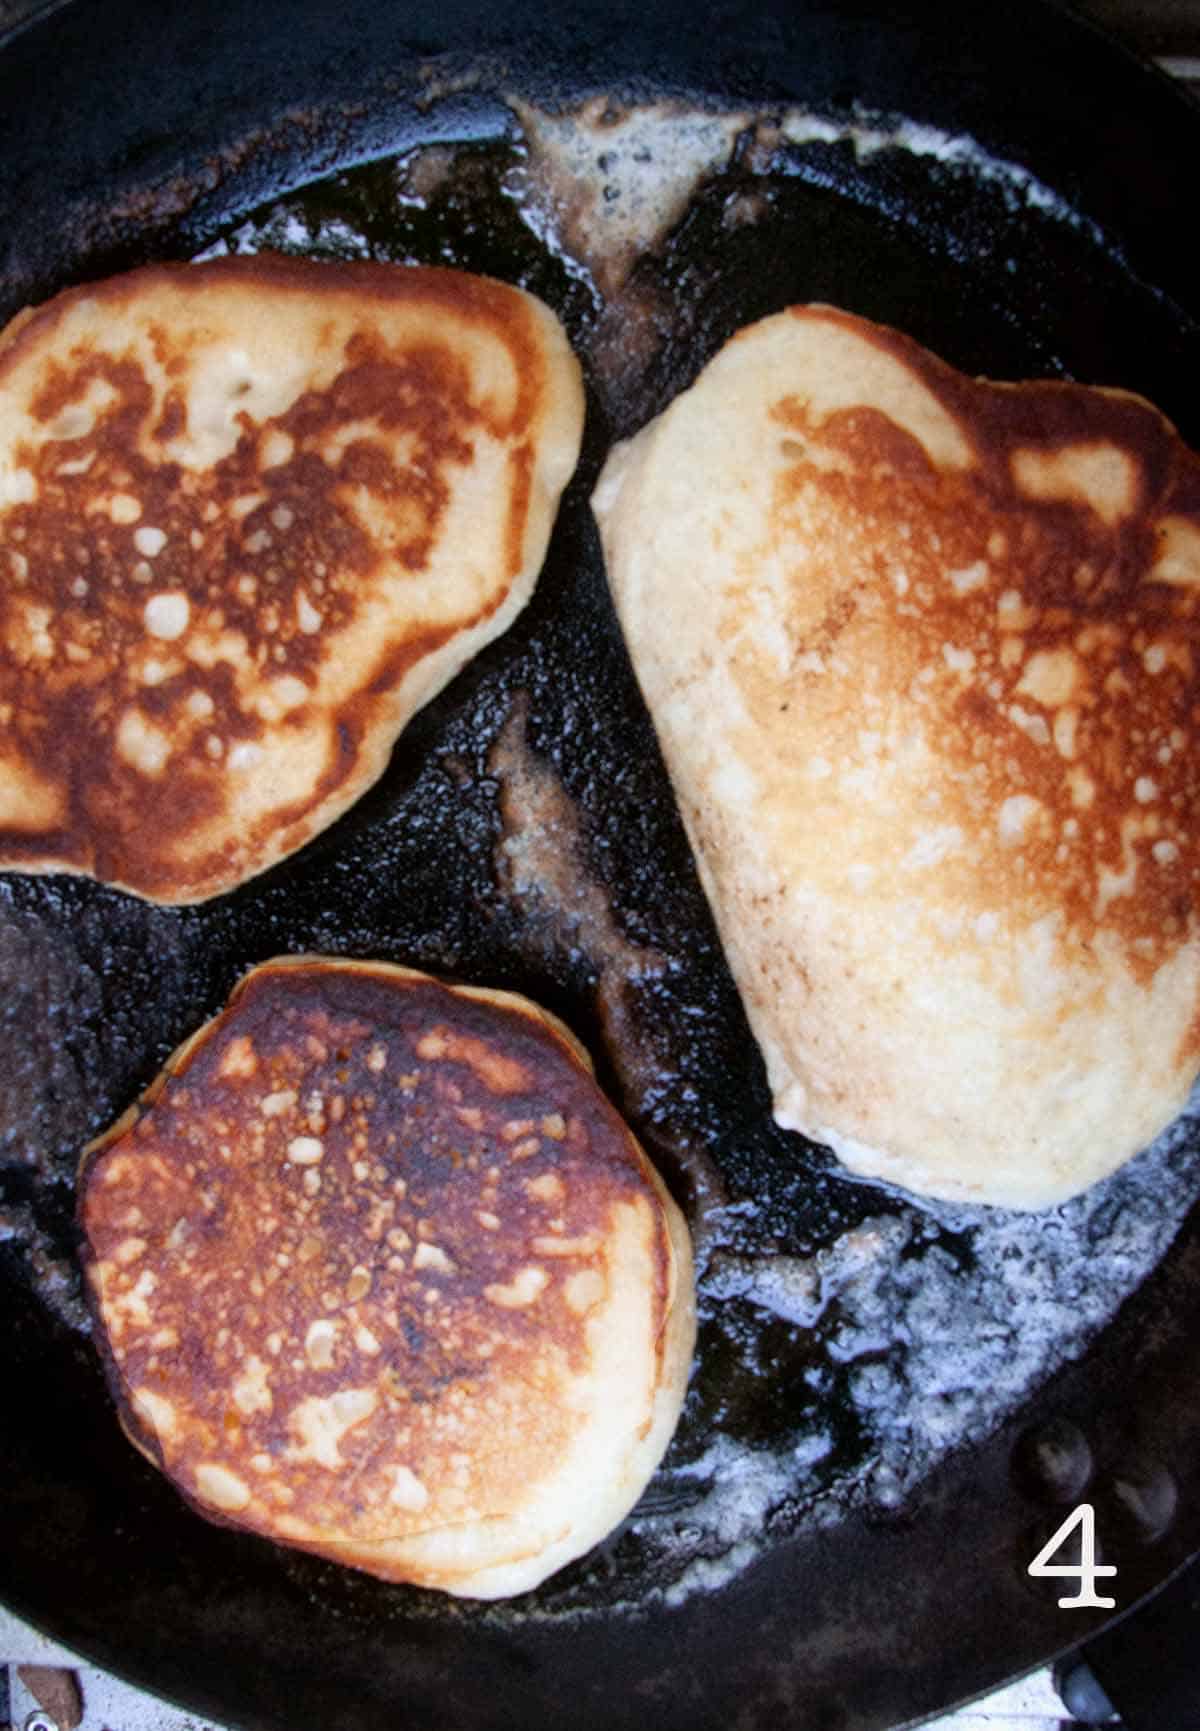
    Three cooked pancakes in a cast iron skillet.

    4. Flip the pancakes and cook until golden brown and set on the bottom. Repeat with the remaining batter and more butter.

    Making Pancakes Over the Campfire

    When making campfire pancakes, it's important to have even heat. Build a bed of hot coals on one side of your fire pit, and set a grate above it. Don't attempt to cook the pancakes over strong flame as they may burn. It takes about 20 minutes for wood to burn down to hot coals suitable for cooking.

    Set your cast iron skillet or griddle on the grate and let it heat up fully before adding the butter and pancake batter to it. Proceed with the recipe as written, adding more coals beneath the skillet if necessary to maintain the heat. If the pancakes are browning too quickly, move the skillet or griddle to a cooler part of the grate or move some of the coals away.

    Camping Pancake FAQs

    Can I pre-mix my pancake batter?

    I don't recommend pre-mixing pancake batter. Once you mix the wet and dry ingredients together, the buttermilk will react with the baking soda to create the gas bubbles that make the pancakes light, fluffy, and tall. As the mixture sits, the gas bubbles will dissipate, and while your batter will still be safe to eat, it won't produce fluffy pancakes.

    How do you stop the pancakes from sticking to the pan?

    Always use a well-seasoned cast iron pan or griddle, and add some fat, such as butter or oil, to the skillet before cooking your pancakes. If the skillet appears dry between batches, add a little extra fat. Always let your skillet heat up before adding batter to the pan.

    How do I know when my pancakes are ready to flip?

    When you see bubbles appearing on the surface of your pancake, and the bottom of your pancake is golden brown and releases easily from the skillet, it's ready to flip.

    Can I add mix-ins to my pancake batter?

    Yes. After pouring your pancake batter onto the cast iron skillet, sprinkle your favorite mix-in, such as blueberries or chocolate chips over the batter. Want to spice them up and make them festive? Try gingerbread spice pancake mix, which is a variation on this recipe. Looking for extra protein? Give these sausage pancakes a try.

    Tips and Troubleshooting

    • To get ahead, mix your dry ingredients in a resealable plastic bag before heading out on your camping trip.
    • Let your skillet or griddle heat up completely before cooking your pancakes.
    • For the fluffiest pancakes, keep your wet and dry ingredients separate until just before cooking. After mixing the wet and dry ingredients, let the mixture sit for 5 minutes, to allow the buttermilk and baking soda to react.
    • Only flip your pancakes once during cooking.
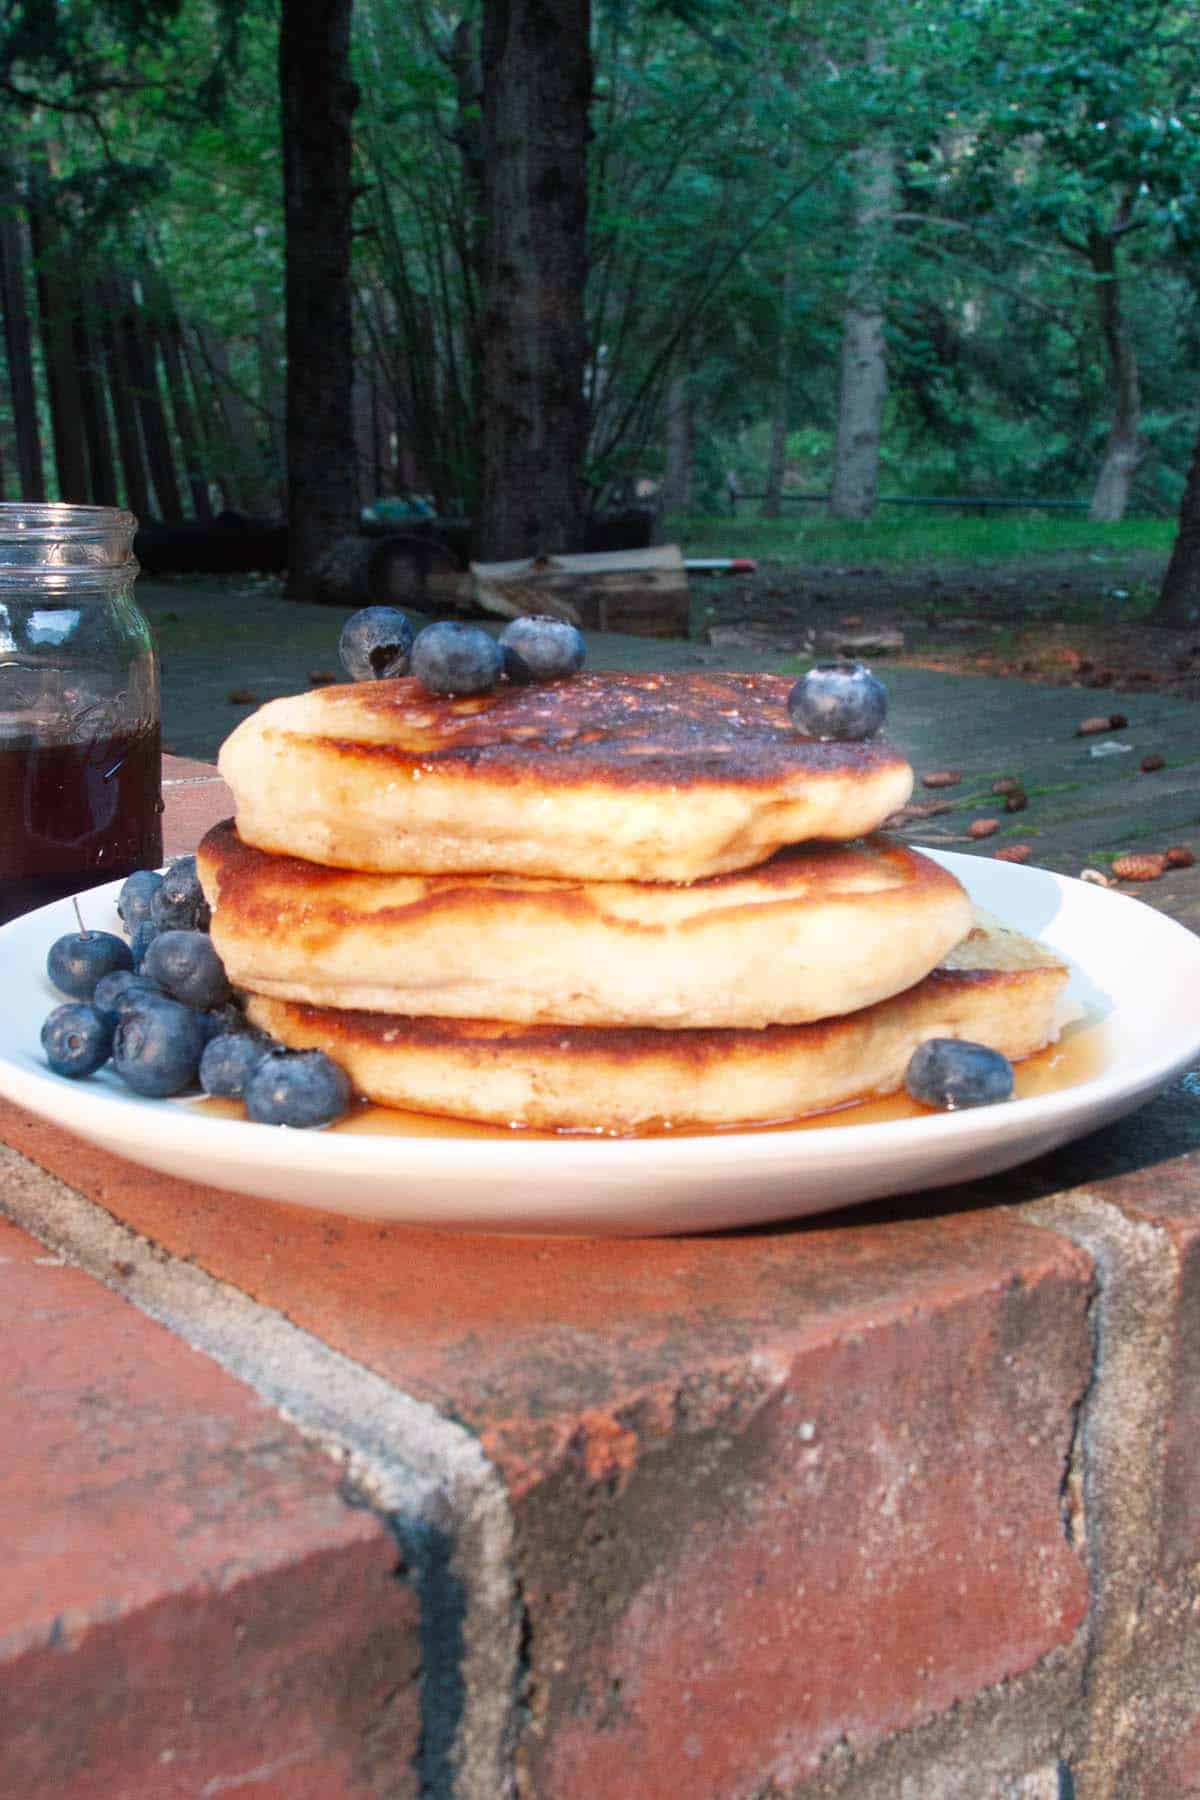
    A stack of pancakes, maple syrup, and blueberries on a plate outside.

    More Camping Breakfast Recipes You'll Love

    Eight cinnamon rolls in a cast iron Dutch oven.
    Dutch Oven Cinnamon Rolls
    A breakfast burrito cut in half on a plate with hot sauce on the side.
    Make-Ahead Breakfast Burritos

    Tried This Recipe?

    If you've tried this recipe, please leave a comment below. Follow me on Instagram, Facebook, YouTube, or Pinterest for more great camping and grilling recipes.

    Recipe
    A stack of pancakes, maple syrup, and blueberries on a plate with blueberries and bacon in the background.

    Easy Camping Pancakes

    A woman's face.Angie Zoobkoff
    These fluffy camping pancakes, made on your cast-iron skillet or griddle, are soft and buttery, with crisp edges. Top them with plenty of maple syrup for the ultimate breakfast treat.
    5 from 1 vote
    Print Recipe Pin Recipe
    Prep Time 5 minutes mins
    Cook Time 15 minutes mins
    Total Time 20 minutes mins
    Course Breakfast
    Cuisine American
    Servings 4 to 6 servings
    Calories 309 kcal

    Equipment

    • Cast iron skillet (or griddle)

    Ingredients
      

    • 2 cups all-purpose flour
    • 2 tablespoons granulated sugar
    • 2 teaspoons baking powder
    • 1 teaspoon baking soda
    • ½ teaspoon table salt
    • 2 large eggs
    • ½ teaspoon vanilla optional
    • 1 cup buttermilk plus more if needed
    • Butter for the pan
    • Maple syrup for serving

    Instructions
     

    • If you'll be cooking over a campfire, prepare a fire and let it burn down to hot coals.
    • In a large mixing bowl, whisk the flour, sugar, baking powder, baking soda, and salt together.
    • In a large measuring cup, whisk the eggs, 1 cup buttermilk, and vanilla, if using.
    • Pour the wet ingredients into the dry, and mix until combined. Don't overbeat the mixture; a few lumps in your batter is ok. The batter should be thick but pourable. Drizzle in extra buttermilk, 1 to 2 tablespoons at a time if the batter is dry or too thick to pour.
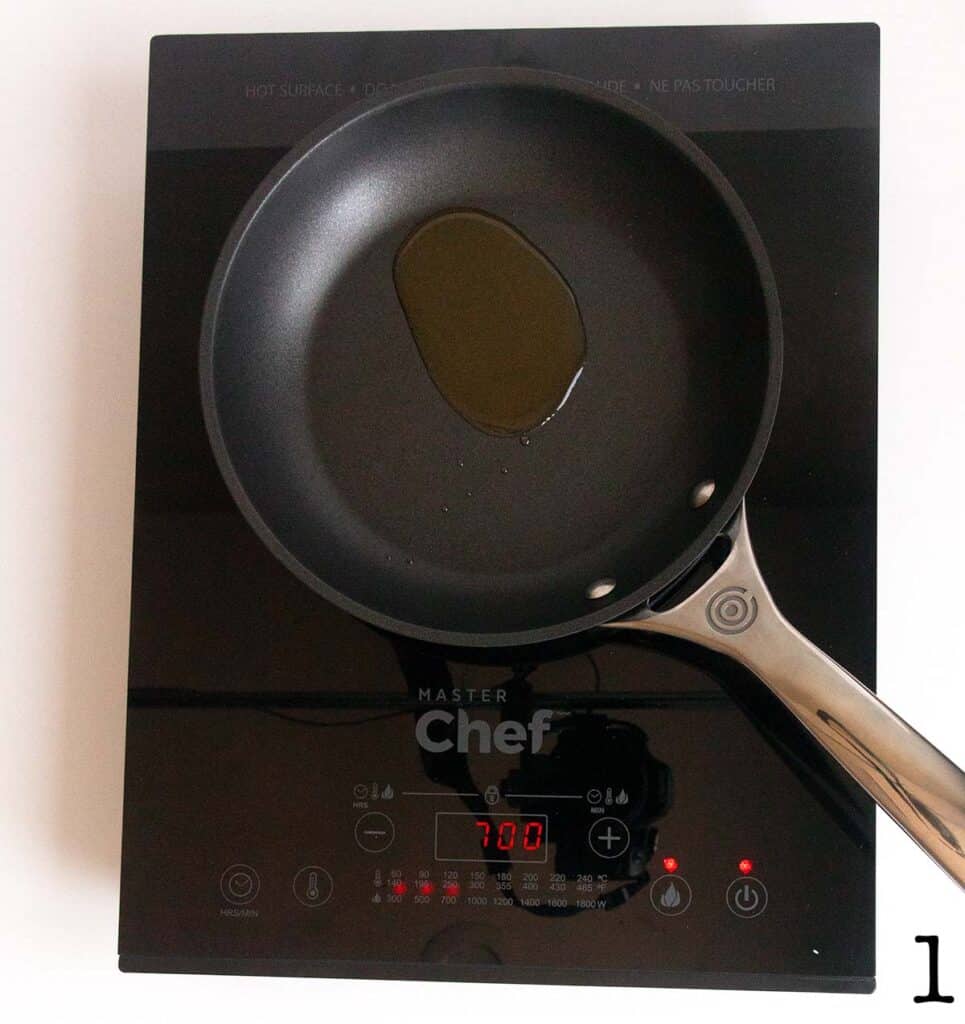
    • Heat a large cast iron skillet or griddle over medium heat. You can do this on your camp stove, grill, or over hot coals.
    • Melt 1 tablespoon butter in the skillet. Add ¼-cup scoops of pancake batter to the skillet.
    • Let the pancakes cook until bubbles begin to form on the top of each pancake, about 4 minutes. Flip and cook until set, about 2 minutes more. Transfer the pancakes to a plate.
    • Repeat with the remaining batter, adding a little more butter to the skillet each time.
    • Serve the pancakes warm, drizzled with maple syrup.

    Video

    Notes

    • To get ahead, mix your dry ingredients in a resealable plastic bag before heading out on your camping trip.
    • Let your skillet or griddle heat up completely before cooking your pancakes.
    • For the fluffiest pancakes, keep your wet and dry ingredients separate until just before cooking. After mixing the wet and dry ingredients, let the mixture sit for 5 minutes, to allow the buttermilk and baking soda to react.
    • Only flip your pancakes once during cooking.

    Nutrition

    Serving: 1portionCalories: 309kcalCarbohydrates: 57.6gProtein: 11.1gFat: 3.5gCholesterol: 95mgFiber: 1.8gSugar: 8.9g
    Keyword camping pancakes, cast iron cooking, pancakes, skillet pancakes
    Tried this recipe?Let us know how it was!

    August 20, 2023 Camping

    Camping Mac and Cheese

    This creamy one-pot camping mac and cheese recipe is easy to make in your Dutch oven on your camp stove or over the fire, and is a great budget-friendly camping meal. This cheesy bowl of comfort food is ready in just 20 minutes, making it perfect for lunch or dinner.

    A pot of mac and cheese with two bowls nearby.

    Recipe at a Glance: Camping Mac and Cheese

    • DETAILS
      • Total Time: 20 minutes
      • Preparation method: Camp stove or campfire
    • HIGHLIGHTS
      • This easy campfire mac and cheese recipe can be made in your Dutch oven on the camp stove or directly over the campfire. You can also make it at home or in your RV on your stovetop.
      • It's a one-pot pasta recipe, so it only requires your Dutch oven. No colander or draining required.
      • Offer this simple vegetarian camping meal with salad on the side for a satisfying lunch or dinner.

    You've been busy exploring the great outdoors all day, and once you're back at camp, everyone is suddenly starving. Enter this comforting pot of camping macaroni and cheese. It's ready in just 20 minutes, and a satisfying camping meal that is both kid-friendly and vegetarian.

    If you're serving it as a main, a simple green salad tossed with lemon thyme vinaigrette is the perfect side dish. As part of a larger meal, serve it with classics, like smoked ribs and coleslaw.

    [feast_advanced_jump_to]

    Ingredients and Substitutions

    Ingredients for camping mac and cheese--cheddar, mustard powder, hot sauce, and macaroni.
    • Macaroni--You can use any type of pasta here, but I recommend a small shape, such as macaroni or penne.
    • Cheddar cheese--For best results, use full-fat cheese and grate it by hand. Pre-shredded cheese doesn't melt well.
    • Heavy cream (not pictured, optional)--Although the addition of cream, half and half, or milk is optional, I highly recommend it. It adds extra creaminess to the pasta.

    How to Make Dutch Oven Mac and Cheese

    Water being poured into a pot of macaroni.

    1. Combine the pasta, water, and salt in a Dutch oven.

    A covered Dutch oven on a burner.

    2. Cover and bring to a boil over medium-high heat.

    Macaroni cooking in a pot.

    3. Cook the pasta until tender, stirring frequently to prevent sticking. Don't drain it!

    Cheese and hot sauce being stirred into cooked macaroni.

    4. Remove from the heat, and add the cheese, hot sauce, mustard powder, and cream, if using.

    A person stirring cheese into macaroni.

    5. Stir vigorously until the cheese is melted and the sauce is smooth.

    Creamy mac and cheese in a pot with a wooden spoon resting in it.

    6. Let the Dutch oven macaroni and cheese stand for 5 minutes before serving.

    Making it Over a Campfire

    To make campfire mac and cheese, set the Dutch oven on a grate over a bed of glowing hot coals or even place it directly in the coals, and follow the directions below. Depending on how hot your coals are, the pasta may take a few extra minutes to cook.

    Storage and Reheating

    Store leftovers in a sealed container in your cooler or RV fridge for up to 3 days. To reheat, scoop the mac and cheese into your Dutch oven and set it over low heat. Rewarm gently, adding a splash of milk or cream to loosen the sauce as it heats.

    Tips and Troubleshooting

    • If you're doubling the recipe, use a 6-to-8-quart Dutch oven.
    • Stir the pasta occasionally to avoid sticking.
    • To avoid grainy cheese sauce, remove the Dutch oven from the heat before stirring in the cheese.
    • The sauce should still be a little runny after cooking. It will thicken and absorb the liquid as it sits. If it becomes too thick, stir in milk or water, 1 tablespoon at a time until the sauce is creamy and smooth.
    Creamy mac and cheese in a pot with a wooden spoon resting in it.

    More One-Pot Pasta Recipes You'll Love

    A spoonful of cheeseburger pasta being lifted from a Dutch oven.
    One-Pot Cheeseburger Pasta
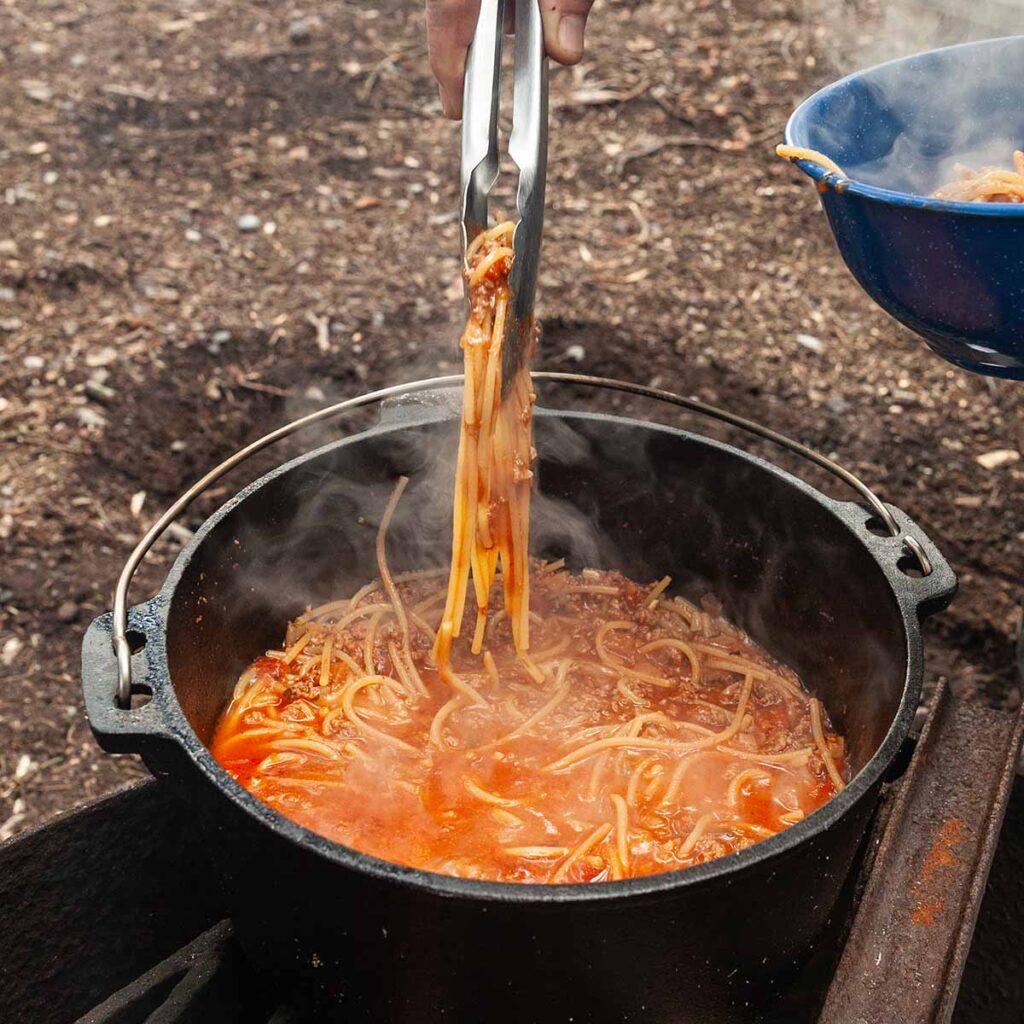
    A person using tongs to pull spaghetti from a Dutch oven.
    Dutch Oven Spaghetti

    Tried This Recipe?

    If you've tried this recipe, please leave a comment below. Follow me on Instagram, Facebook, YouTube, or Pinterest for more great camping and grilling recipes.

    Recipe

    Creamy mac and cheese in a pot with a wooden spoon resting in it.

    Camping Mac and Cheese

    A woman's face.Angie Zoobkoff
    This creamy one-pot macaroni and cheese is made in just one pot with a handful of pantry ingredients and requires only 20 minutes of your time.
    5 from 2 votes
    Print Recipe Pin Recipe
    Prep Time 5 minutes mins
    Cook Time 15 minutes mins
    Total Time 20 minutes mins
    Course Main Course
    Cuisine American
    Servings 3 servings
    Calories 595 kcal

    Equipment

    • 3-to-4 quart Dutch oven

    Ingredients
      

    • 2 cups macaroni
    • 2 cups water
    • ½ teaspoon table salt
    • ½ teaspoon mustard powder
    • 8 ounces Cheddar cheese shredded
    • 1 to 2 teaspoons hot sauce
    • 2 tablespoons heavy cream, half and half, or milk optional

    Instructions
     

    • Combine the macaroni, water, and salt in a Dutch oven.
    • Prepare a camp stove, stovetop, grill, or hot campfire coals for medium-high heat. Cover the Dutch oven, set it over the heat and bring to a boil.
    • Cook the pasta, stirring frequently, until tender, 8 to 10 minutes. There will still be some liquid left in the Dutch oven at this point.
    • Remove from the heat and add the mustard powder, cheese, hot sauce, and cream, if using.
    • Stir vigorously until the sauce is smooth and the pasta is evenly coated.
    • Let the mac and cheese stand for 5 minutes before serving. The pasta will continue to absorb the sauce.

    Video

    Notes

    • If you're doubling the recipe, use a 6-to-8-quart Dutch oven.
    • Stir the pasta occasionally to avoid sticking.
    • To avoid grainy cheese sauce, remove the Dutch oven from the heat before stirring in the cheese.
    • The sauce should still be a little runny after cooking. It will thicken and absorb the liquid as it sits. If it becomes too thick, stir in milk or water, 1 tablespoon at a time until the sauce is creamy and smooth.

    Nutrition

    Serving: 1portionCalories: 595kcalCarbohydrates: 53.7gProtein: 28.3gFat: 29.3gCholesterol: 90mgFiber: 2.3gSugar: 2.3g
    Keyword dutch oven cooking, mac and cheese, one pot cooking
    Tried this recipe?Let us know how it was!
    • « Go to Previous Page
    • Page 1
    • Interim pages omitted …
    • Page 7
    • Page 8
    • Page 9

    Primary Sidebar

    A woman's face.

    Hi, I'm Angie! I'm so glad you're here. I can't wait to share my favorite camping and grilling recipes with you.

    More about me →

    Summer Favorites

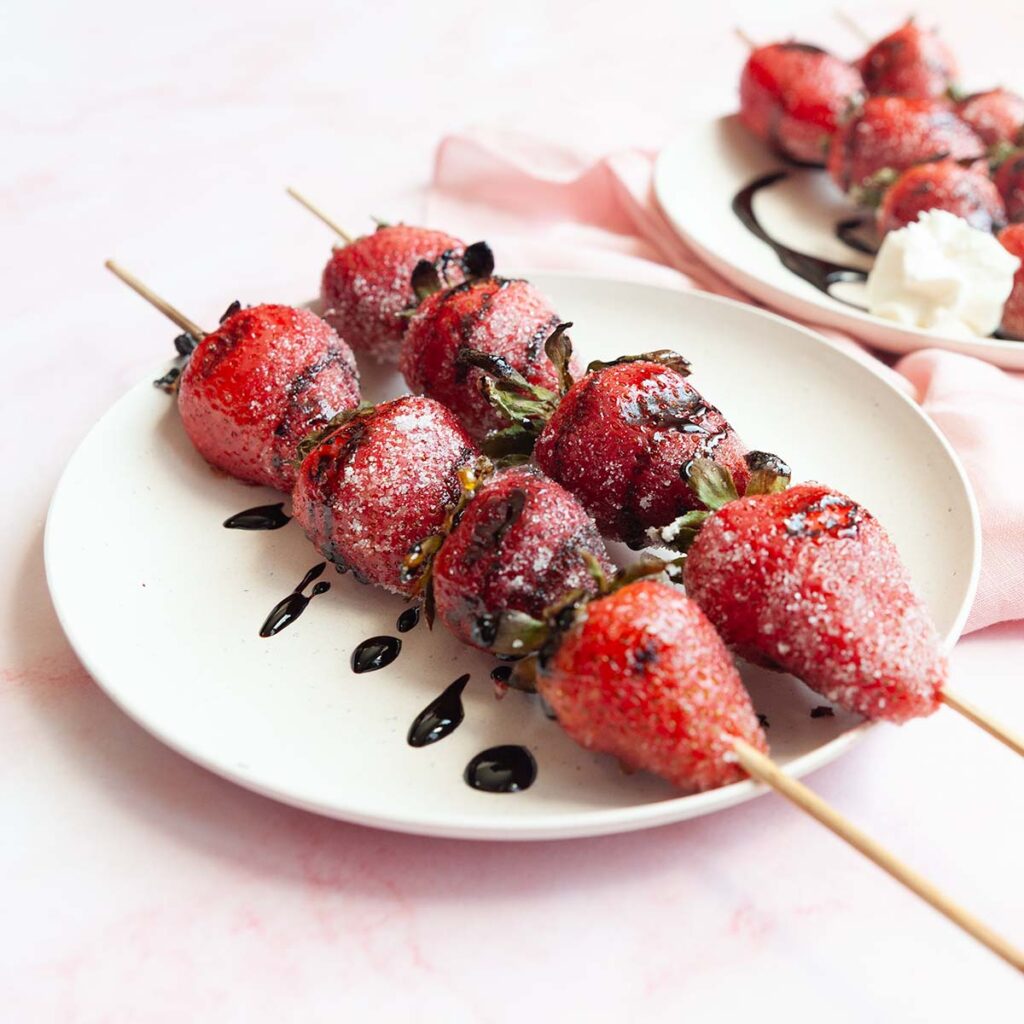
    • Skewers of grilled strawberries on a plate, drizzled with dark syrup.
      Grilled Strawberries
    • Four grilled shrimp skewers on a platter with lemon wedges and cocktail sauce on the side.
      Grilled Old Bay Shrimp
    • A whole skillet peach cobbler with two spoons resting on top.
      Grilled Skillet Peach Cobbler
    • Two Cajun chicken foil packets on plates with forks on the side.
      Cajun Chicken Foil Packets

    Popular Recipes

    • A small skillet filled with caramelized bananas.
      Campfire Bananas Foster
    • A mini cast iron skillet filled with cornbread.
      Mini Skillet Cornbread
    • A grilled cheese sandwich cut in half and a handful of potato chips.
      Campfire Grilled Cheese Two Ways
    • A skillet with three chicken breasts and a skillet filled with cheesy gnocchi.
      18 Easy Cast Iron Skillet Meals for Camping

    Footer

    ↑ back to top

    About

    • Privacy Policy

    Newsletter

    • Sign Up for Emails

    Let's Connect

    • Contact

    Copyright © 2025 Camp.Grill.Eat.

    Rate This Recipe

    Your vote:


    A rating is required
    A name is required
    An email is required