These Dutch oven dinner rolls are soft and fluffy bread rolls that are cooked in your cast iron Dutch oven. They're the perfect side dish to enjoy on your Thanksgiving camping trip, or anytime you want fresh bread.
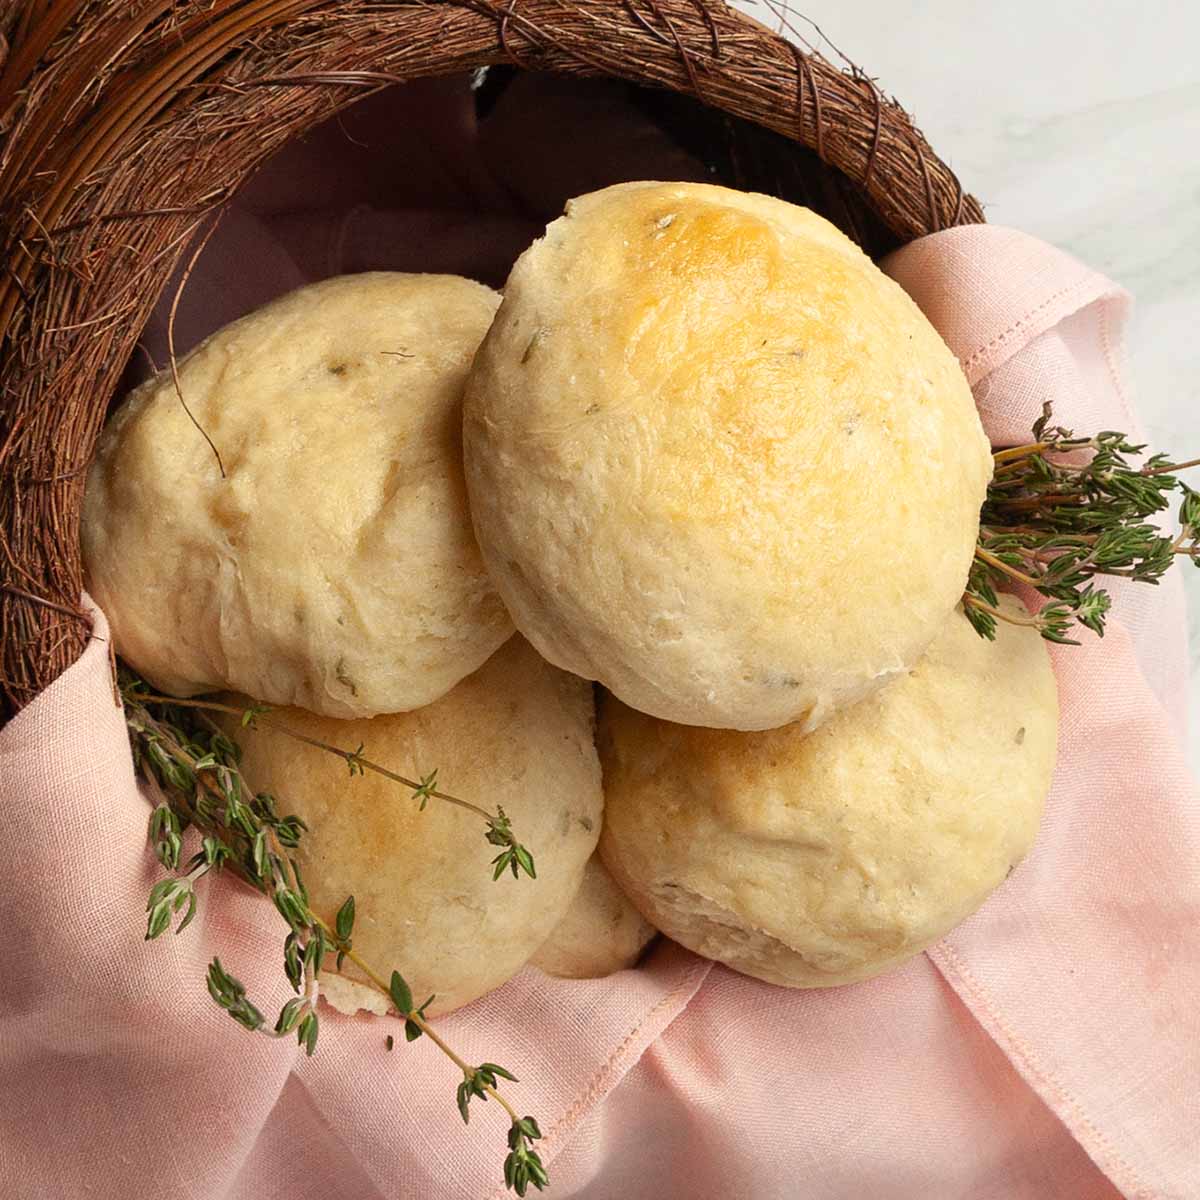
Fresh Dutch oven rolls on a camping trip? You betcha. This easy dinner roll recipe can be partially prepared at home and finished on the campfire, making these perfect for any special occasion camping dinner.
Jump to:
Ingredients and Substitutions
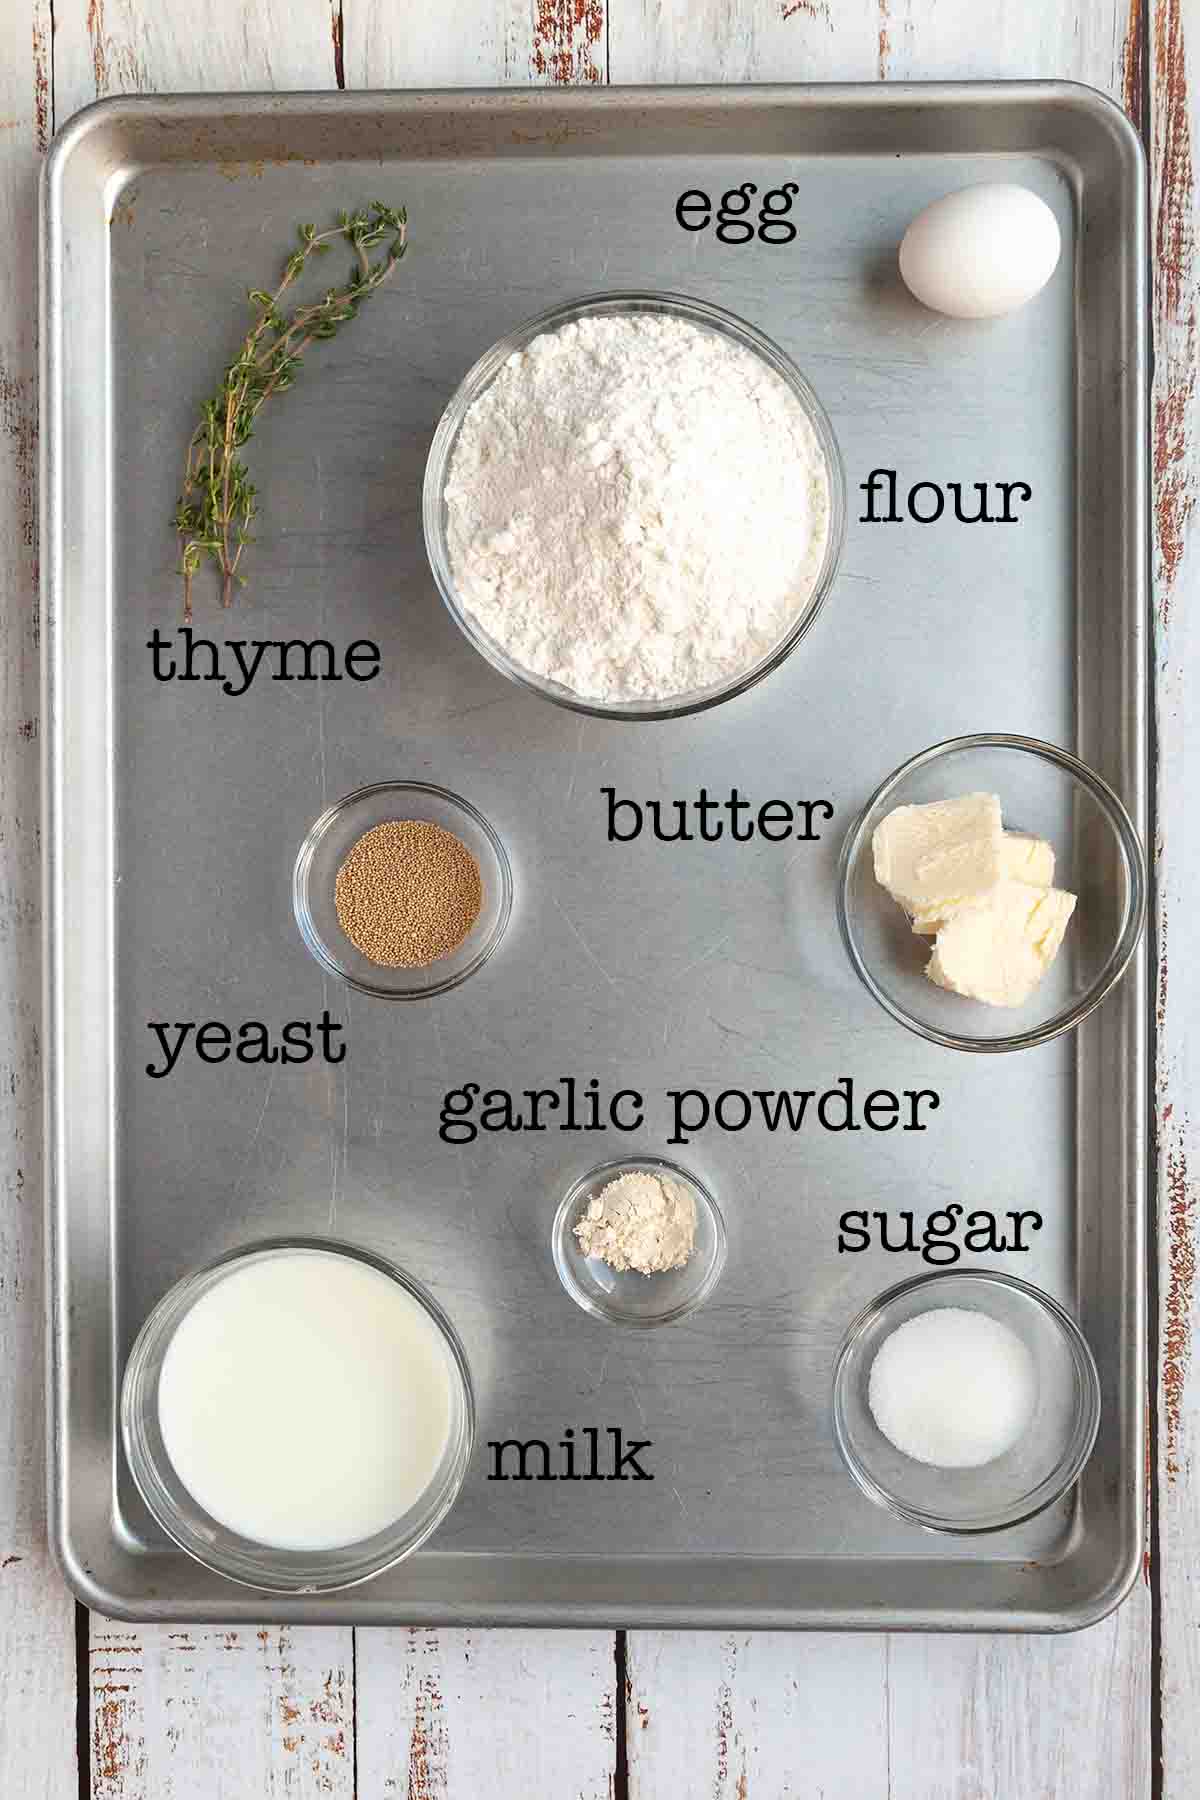
- Flour--Regular all-purpose flour works fine here. I have not tested this recipe with gluten-free flour.
- Yeast--I used active dry yeast for this recipe, but you can substitute instant yeast and skip the proofing step.
- Milk--Whole milk works best here, but you can use low-fat or non-dairy, if you prefer.
- Egg--This adds richness and tenderness to the dough and shouldn't be skipped.
- Thyme--Feel free to swap in finely chopped rosemary or use a combination of rosemary and thyme.
How to Make Bread Rolls in a Dutch Oven
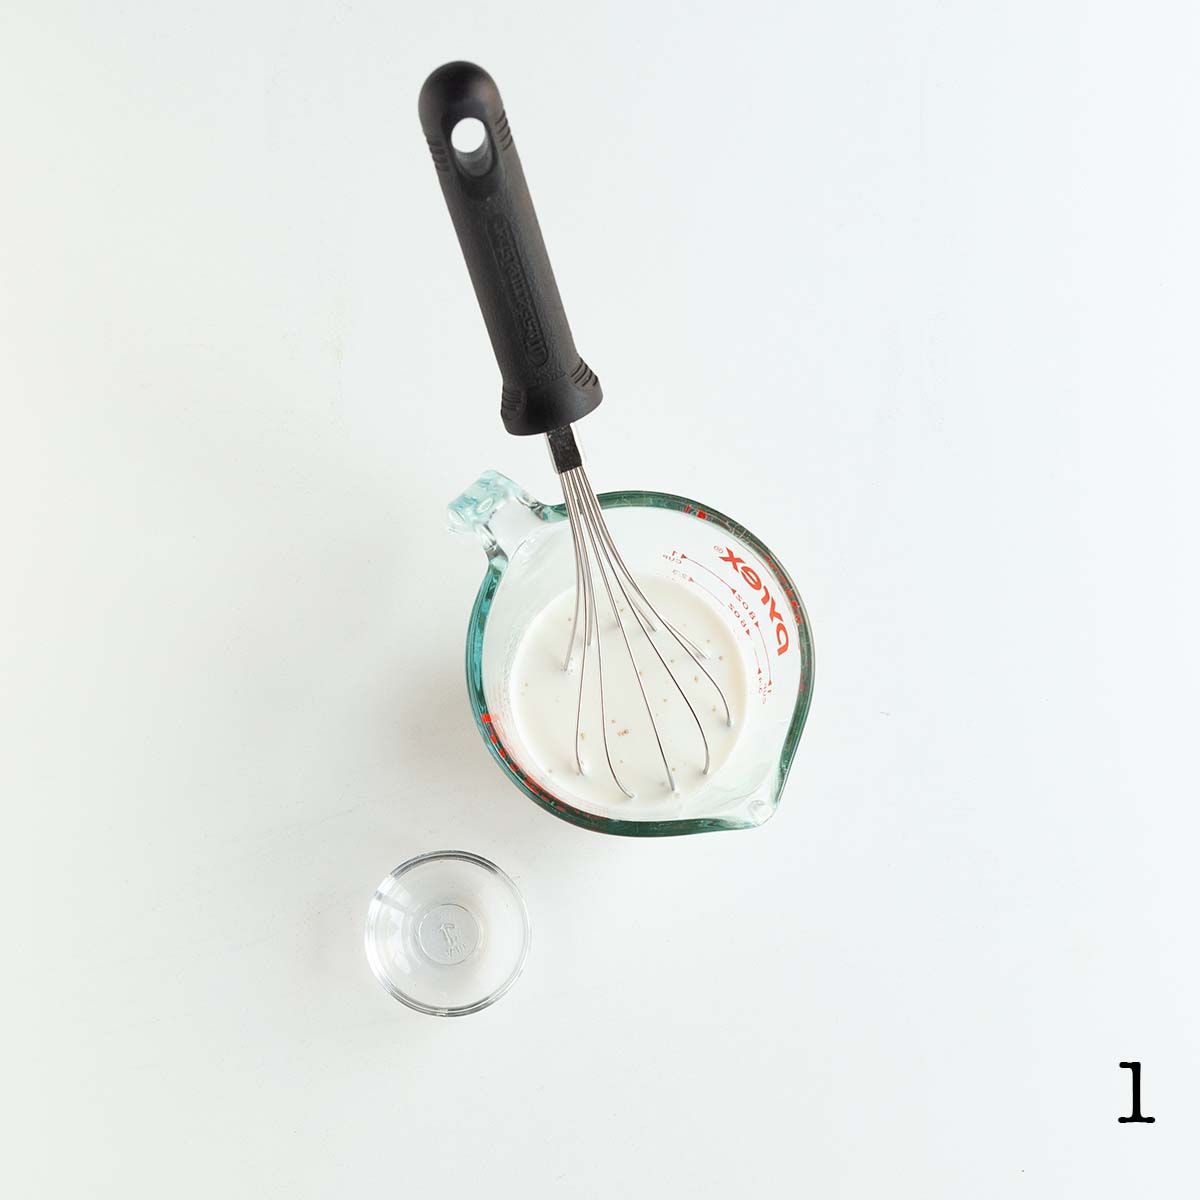
1. Combine the warm milk, yeast, and granulated sugar in a measuring jug. Let stand until the yeast is foamy.
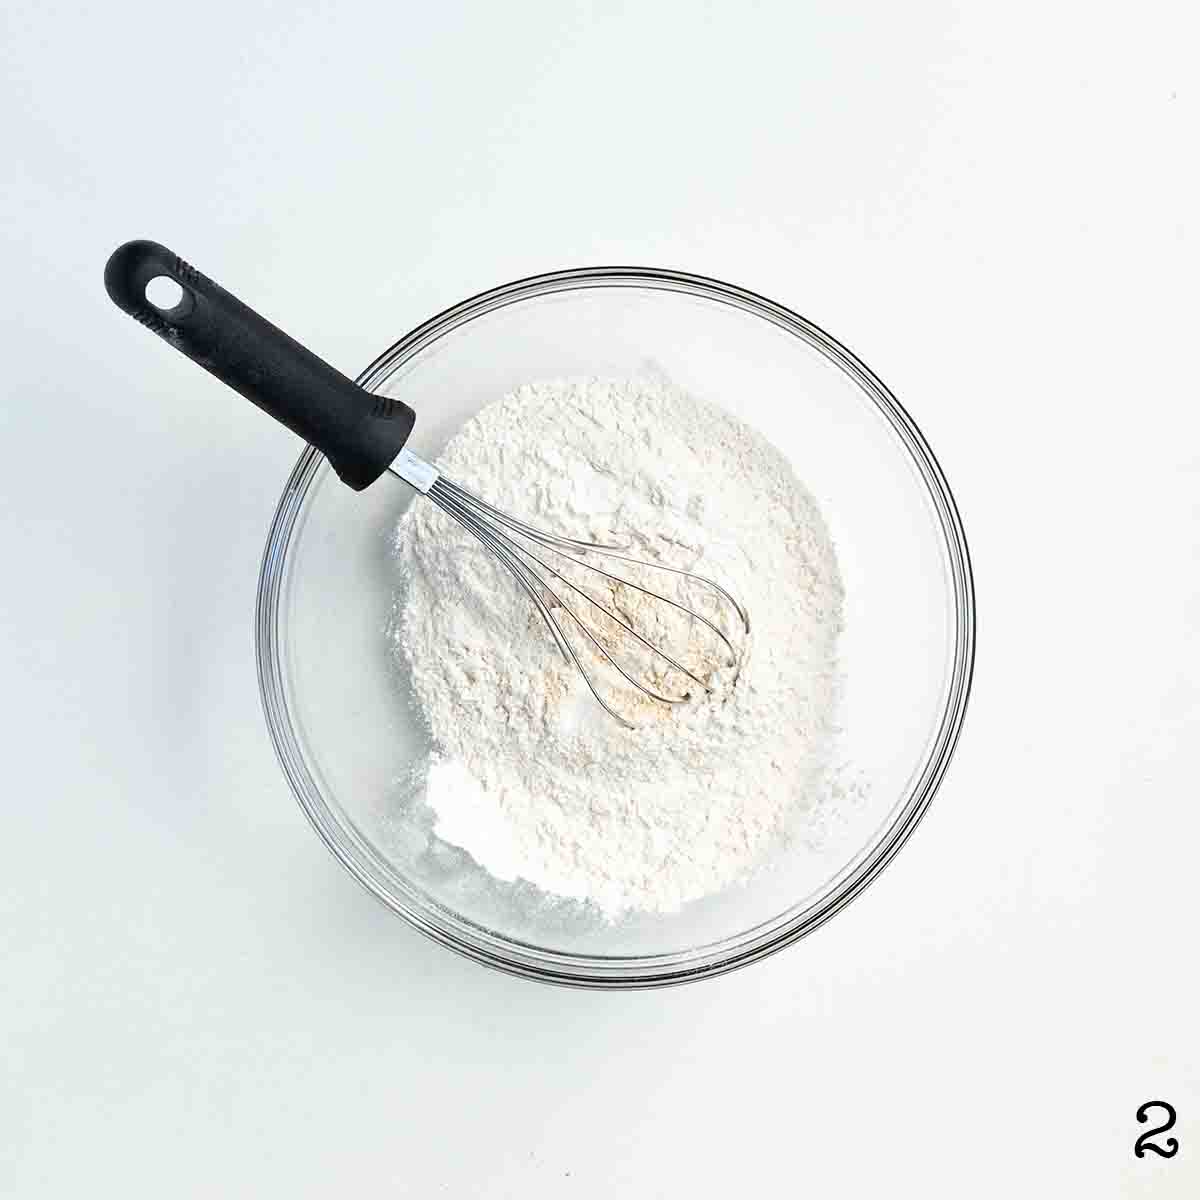
2. Whisk the flour, garlic powder, and salt in a large bowl.
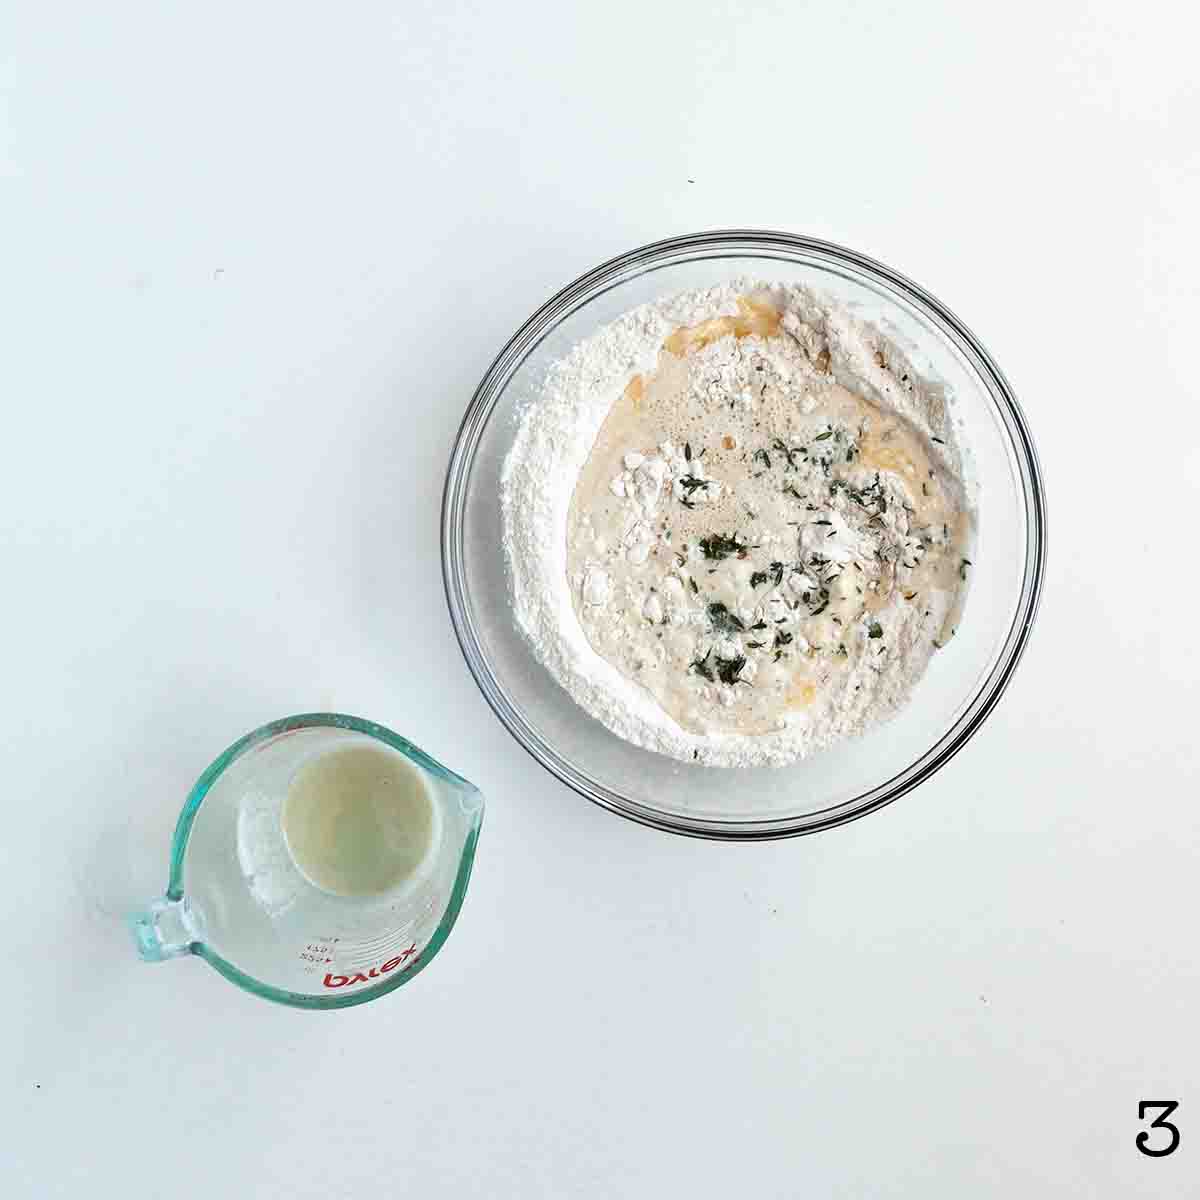
3. Pour the milk mixture into the flour and add the beaten egg, 2 tablespoons melted butter, and the thyme. Mix until no dry patches remain.
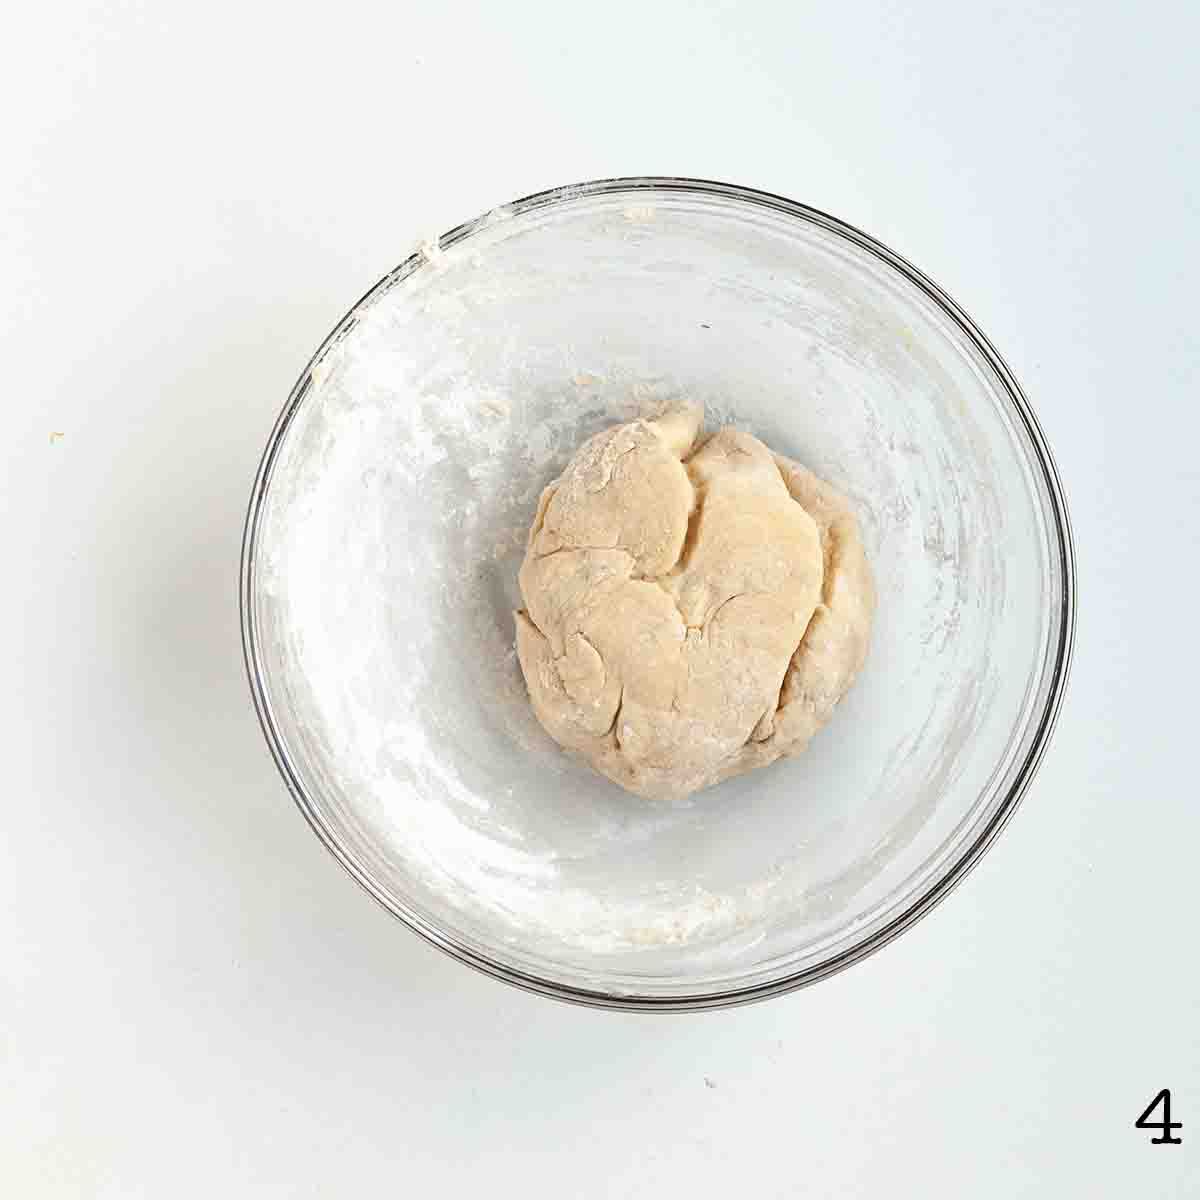
4. Turn the dough out onto a lightly floured surface and knead until smooth.
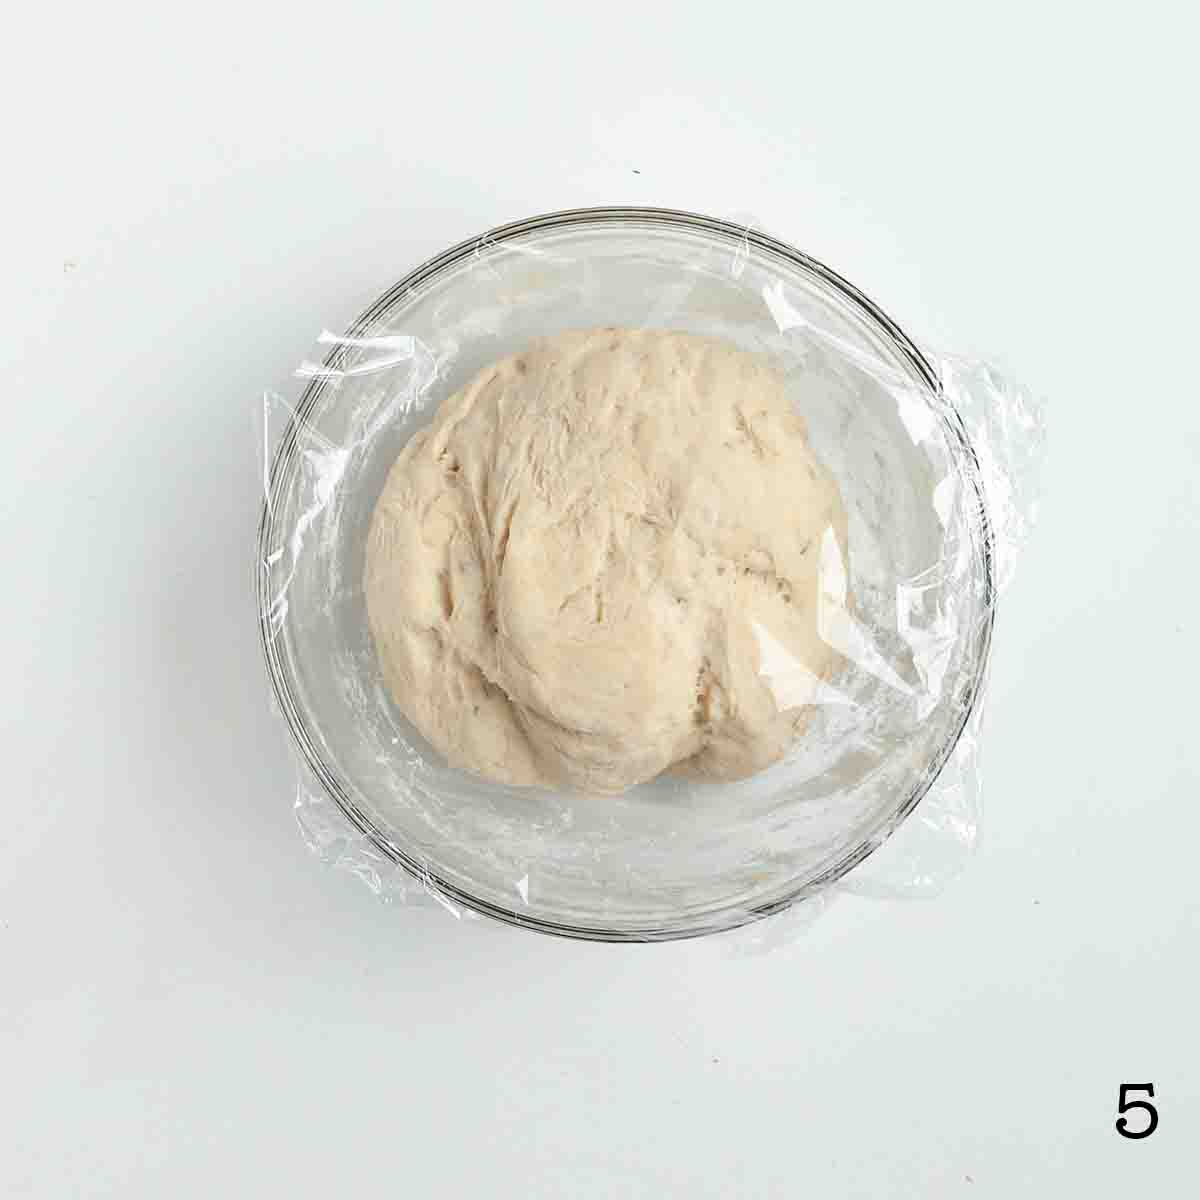
5. Place the dough in a bowl and cover loosely with plastic wrap. Let rise in a warm place until doubled in size.
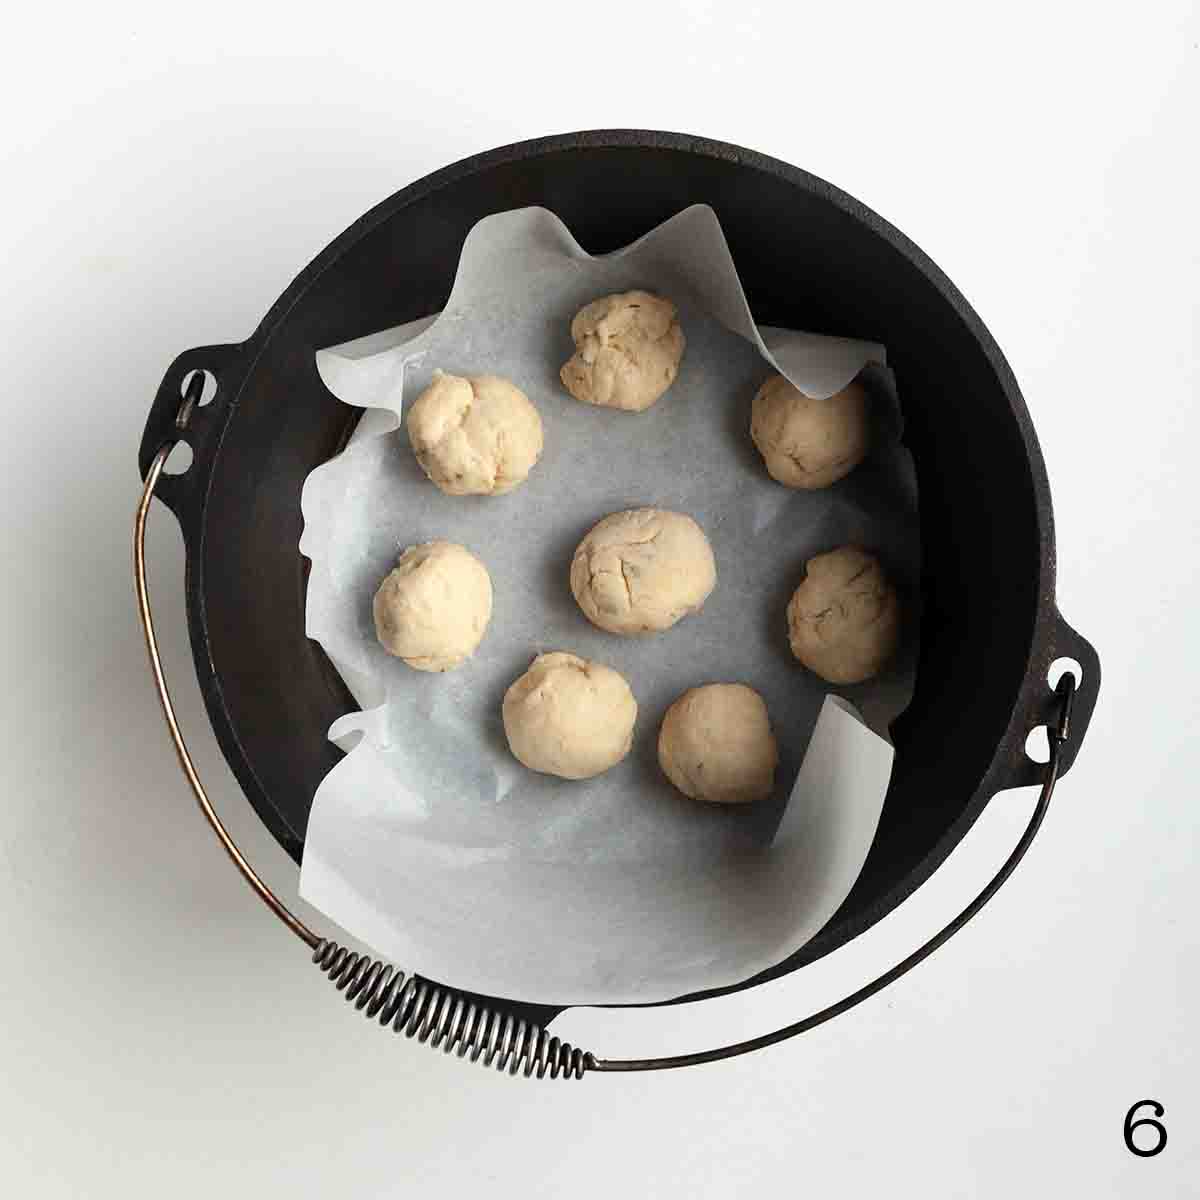
6. Divide the risen dough into 8 balls and place in a parchment-lined Dutch oven. Let rise until puffy.
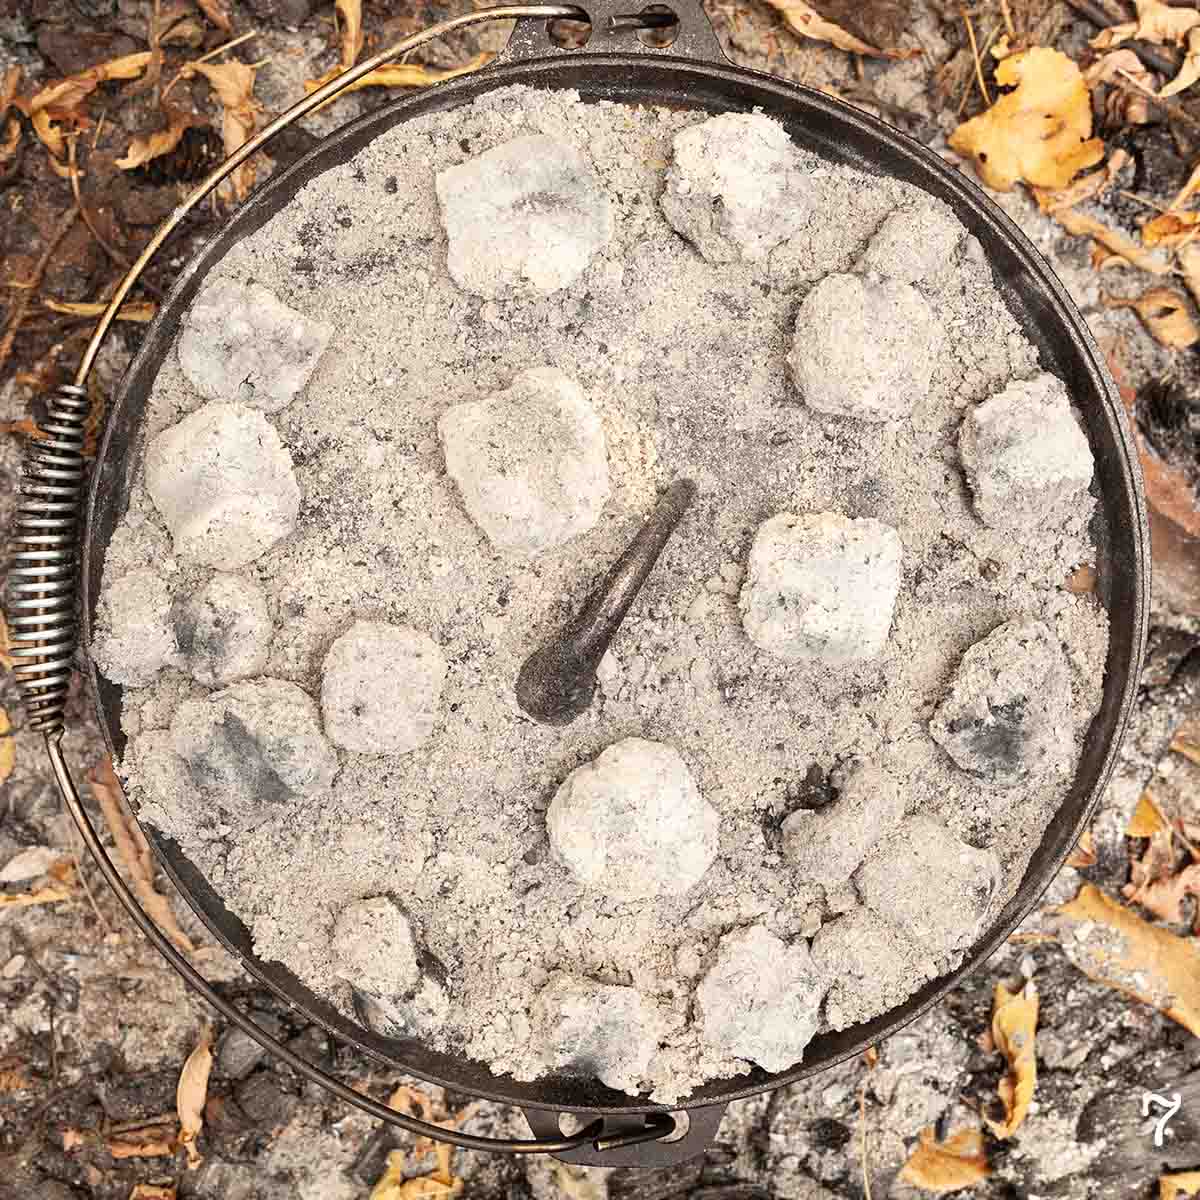
7. Cover the Dutch oven and cook with 16 coals on top and 8 underneath until the rolls are light golden brown.

8. Brush the rolls with the remaining 1 tablespoon melted butter and serve warm.
FAQs
Yes. Once the dough has risen once and shaped into rolls, freeze the individual rolls on a parchment-lined baking sheet until solid. Pop them into a resealable bag and keep frozen for up to 2 weeks. At camp, defrost and proceed with the recipe.
I recommend making this in a 6-to-8-quart Dutch oven for a single recipe. You could use a larger one, if needed, but anything smaller will not hold the rolls.
The buns should be puffed and light golden on top. If you've got an instant read thermometer handy, the internal temperature of cooked rolls should be between 180°F (82°C) and 190°F (88°C).
Sure. Follow the recipe and cook them in your Dutch oven or a baking dish at 375°F (191°C) until golden brown, about 25 minutes.
Tips and Troubleshooting
- The dough should be easy to work with, but still slightly tacky to the touch. Resist the urge to add extra flour.
- If you're letting your dough rise outside on a cool day, place your bowl or Dutch oven near the fire to keep it warm.
- If you are using a large Dutch oven with a diameter of 9 inches or larger, you can minimize cleanup and get ahead by popping the un-risen rolls into a 9-inch round foil pan. When you're ready to cook, let them rise in the pan and set it directly inside your Dutch oven, or bake in the foil pan in the oven.
- These are best enjoyed the same day that they are cooked, but can be stored in an airtight container for up to 1 day.

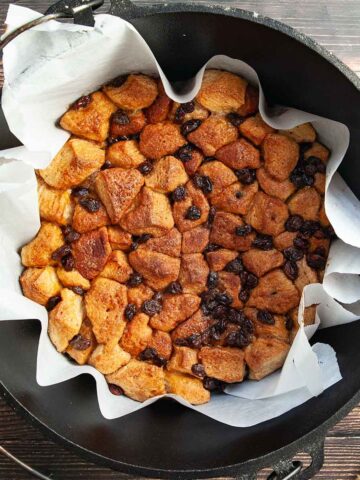
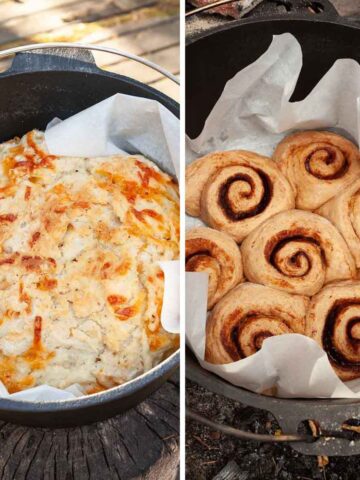
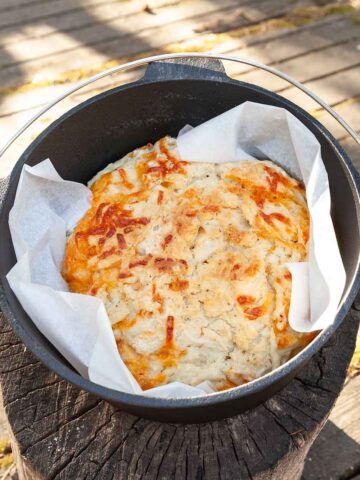
More Dutch Oven Bread Recipes You'll Love


Tried This Recipe?
If you've tried this recipe, please leave a comment below. Follow me on Instagram, Facebook, YouTube, or Pinterest for more great camping and grilling recipes.
Recipe

Dutch Oven Dinner Rolls
Ingredients
- ½ cup whole milk warmed
- 1 tablespoon granulated sugar
- 2 teaspoons active dry yeast
- 2 cups all-purpose flour plus more for kneading
- ½ teaspoon garlic powder
- ½ teaspoon salt
- 1 large egg beaten
- 3 tablespoons melted butter divided
- 1 tablespoon chopped fresh thyme
Instructions
- Combine the milk, sugar, and yeast in a small bowl or measuring jug. Let stand until foamy, about 5 minutes.
- In a large bowl, whisk the flour, garlic powder, and salt together.
- Pour the milk mixture, along with the beaten egg, 2 tablespoons melted butter, and the thyme into the bowl with the flour. Mix until no dry patches remain.
- Turn the dough onto a floured surface and knead until the dough is soft and smooth, about 3 minutes. Shape it into a ball, place it back in the bowl (or in your Dutch oven) and cover loosely with plastic wrap. Let rise in a warm place until doubled in size, 1 to 1 ½ hours.
- Divide the dough into 8 even pieces and shape them into balls. Place the dough balls in a parchment-lined Dutch oven. Cover with plastic and let them rise until puffy, 45 to 60 minutes.
- While the dough balls are rising, prepare hot coals or embers for cooking. You'll need 24 coals to begin cooking and they take about 15 minutes to be ready for use. They're ready when they are white all over.
- Remove the plastic and cover the Dutch oven with its lid. Place 8 coals under the oven and 16 on the lid. Bake until the rolls are puffy and light golden brown, 30 to 35 minutes, replacing the coals as needed.
- Uncover and brush the rolls with the remaining 1 tablespoon melted butter. Serve warm.
Notes
- Don't over-flour--The dough should be easy to work with, but still slightly tacky to the touch. Resist the urge to add extra flour.
- Keep it warm--If you're letting your dough rise outside on a cool day, place your bowl or Dutch oven near the fire to keep it warm.
- Simplify it--If you are using a large Dutch oven with a diameter of 9 inches or larger, you can minimize cleanup and get ahead by popping the un-risen rolls into a 9-inch round foil pan. When you're ready to cook, let them rise in the pan and set it directly inside your Dutch oven, or bake in the foil pan in the oven.
- Storage--These are best enjoyed the same day that they are cooked, but can be stored in an airtight container for up to 1 day.

Leave a Reply